
# Manage Plugin
# Overview
AI desk Pro plugins are additional components that enhance the functionality of Agent applications by providing new features or integrating with external services. These plugins follow OpenAI's format guidelines, ensuring seamless integration and consistent performance. For a step-by-step walkthrough, see the plugins tutorial.
# Accessing Plugin Management
To manage your plugins for AI desk Pro, navigate to the admin panel available at admin.aidesk-pro.com. Here you can enable or disable plugins, add new ones, or configure existing ones.
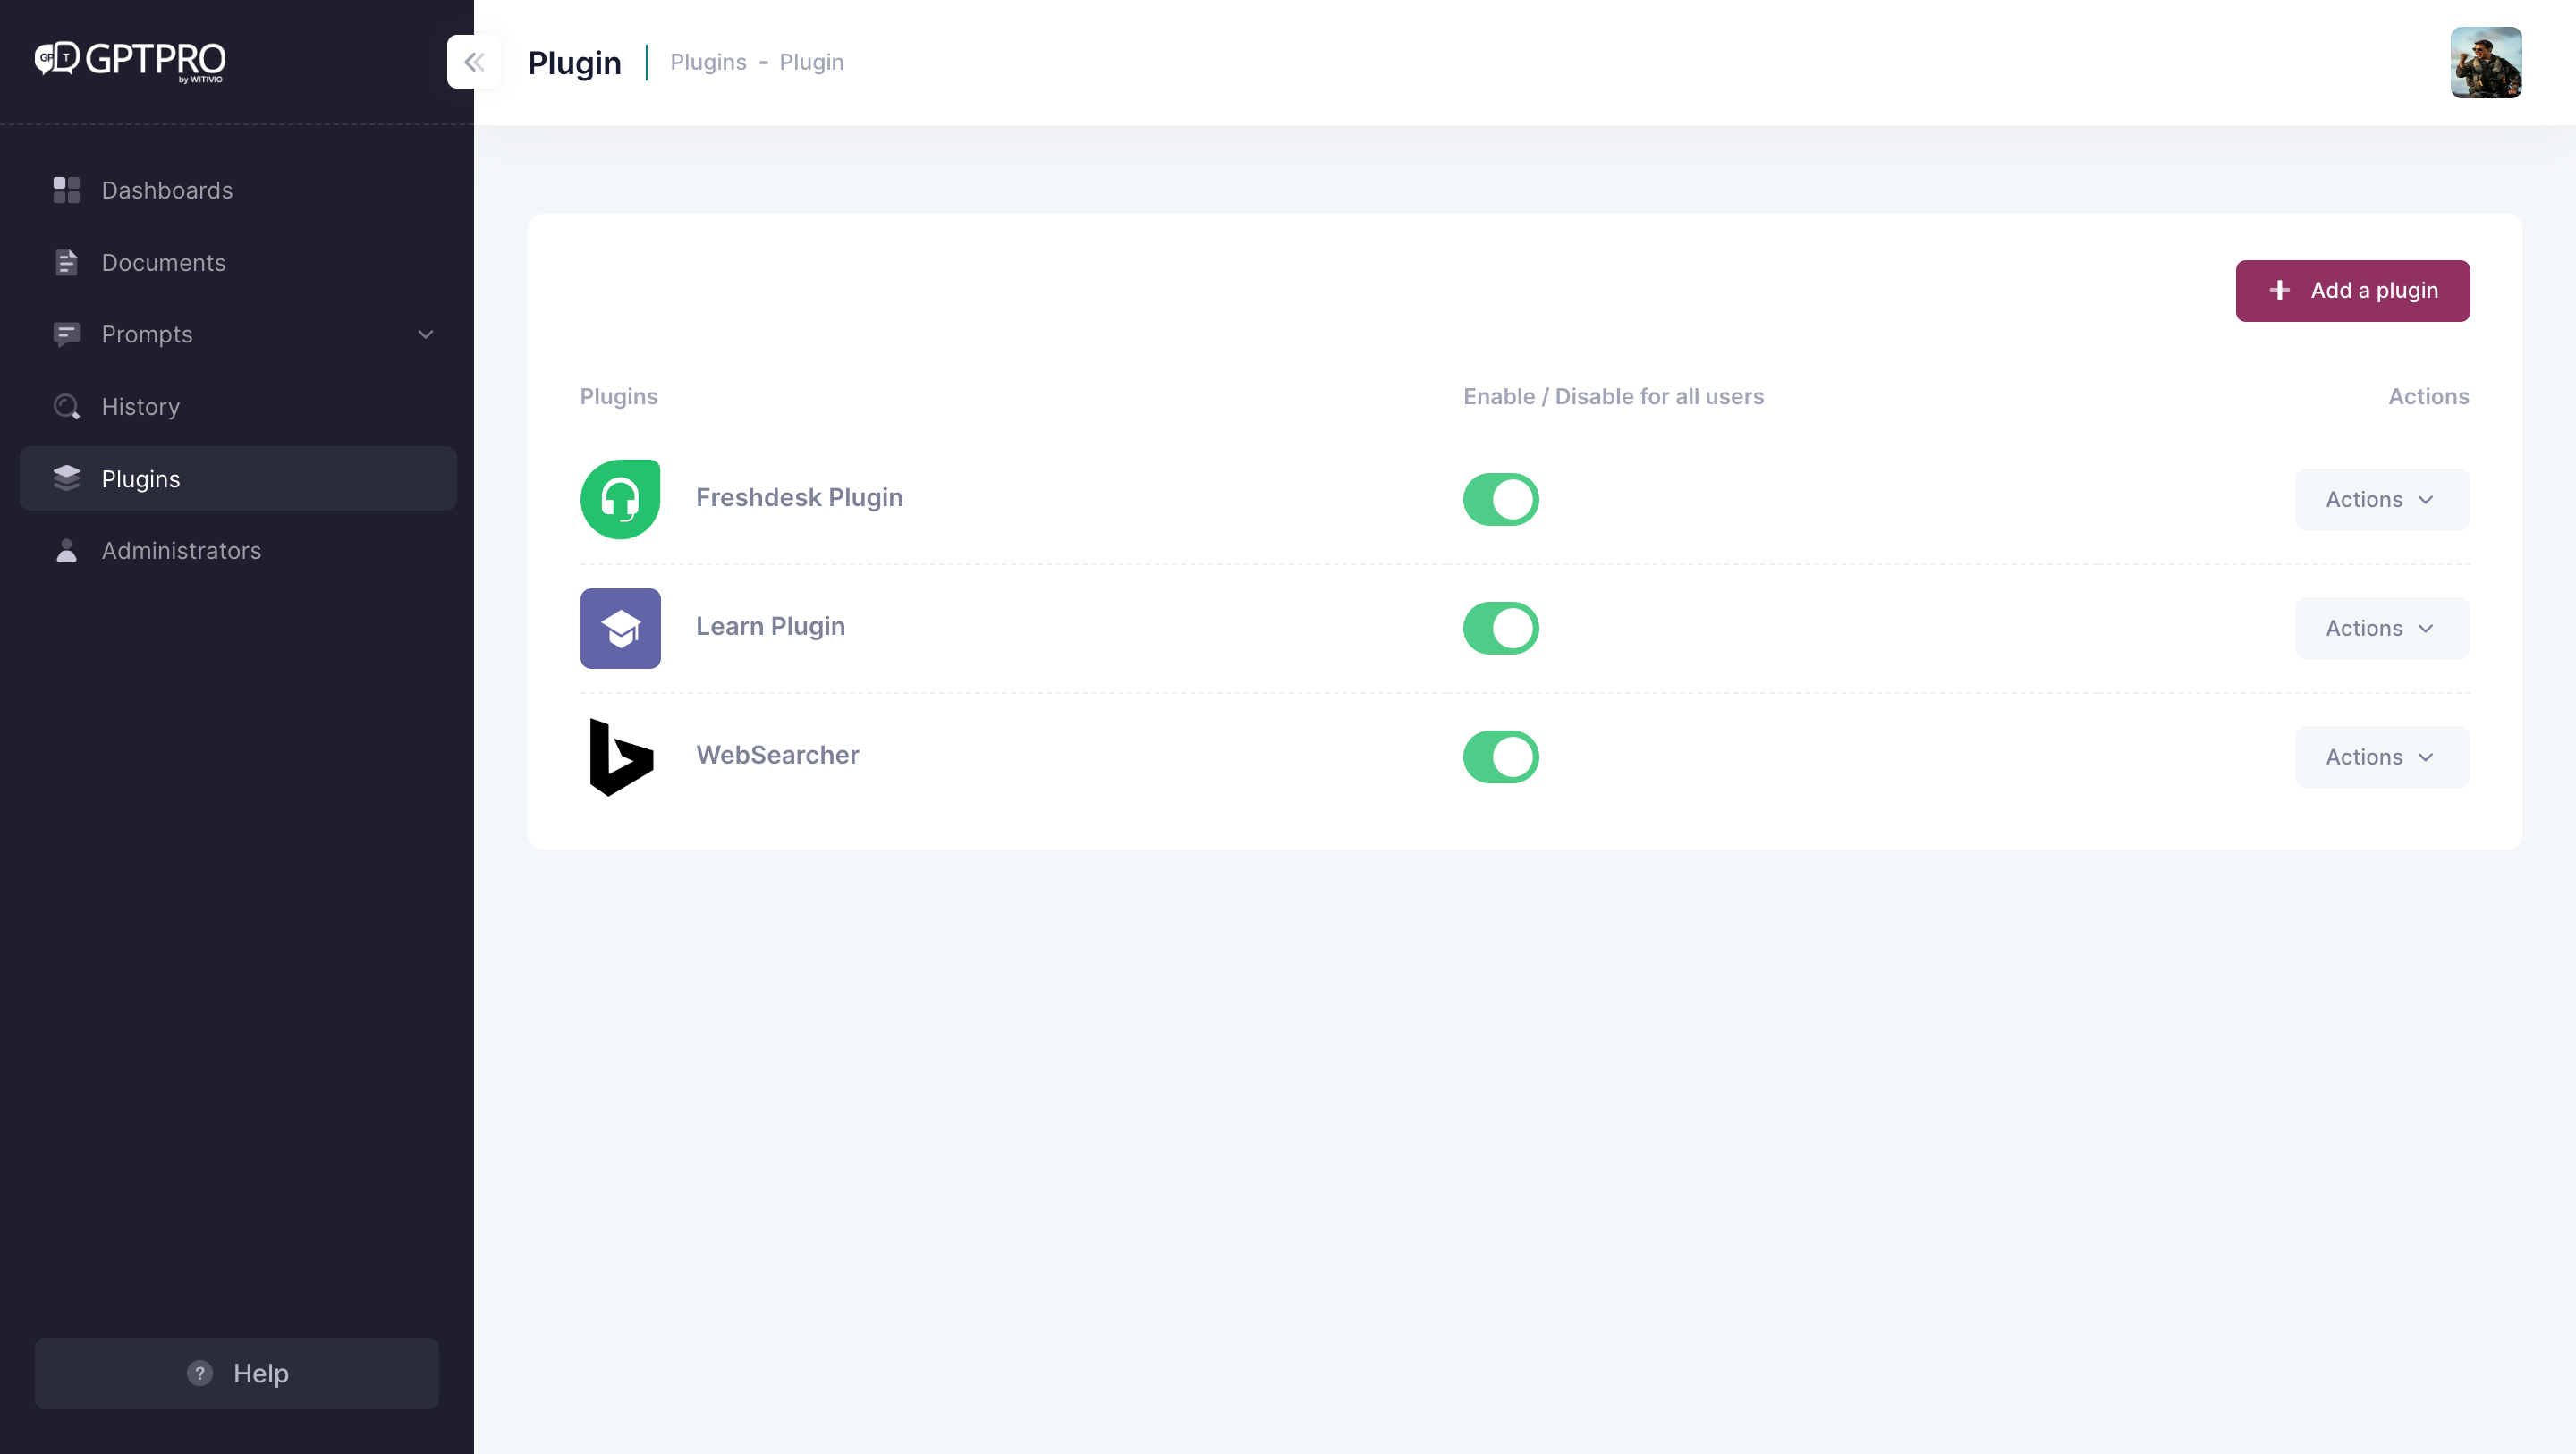
# Enabling and Disabling Plugins
Upon accessing the plugin management interface, you will see a list of available plugins.
# Adding a New Plugin
To extend the capabilities of your Agent application:
- 1
Click the + Add a plugin button in the upper right corner.
- 2
Follow the prompts to upload the plugin package or enter the details for the plugin repository.
- 3
Ensure that the plugin follows the OpenAI format for compatibility.
- 4
Once added, you can enable the plugin using the toggle mentioned earlier.
# Editing a Plugin
You can change the configuration of a plugin that is already installed, without removing and re-adding it:
- 1
Click on the Actions dropdown for the plugin you want to change.
- 2
Choose Edit. The Edit plugin form opens.
- 3
Update the settings you need, then click Save.
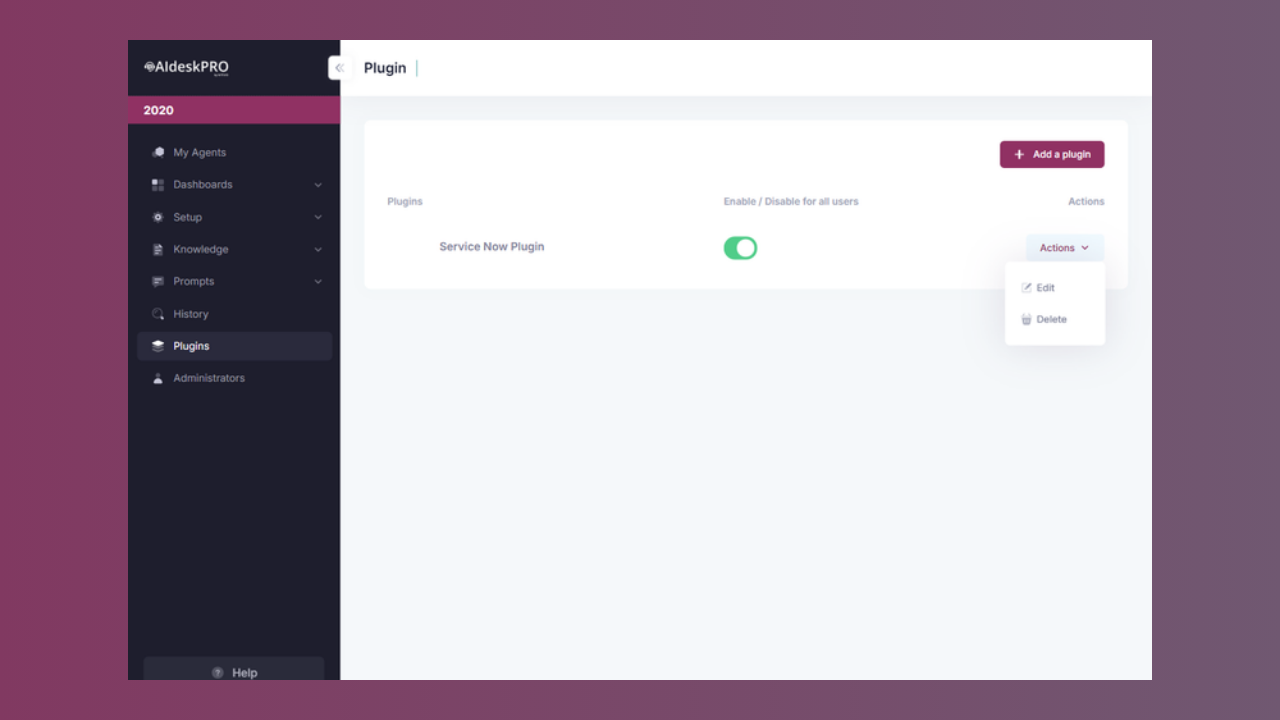
From the edit form you can:
- Turn the plugin's default activation on or off.
- Add, change, or remove the HTTP headers sent with requests to the plugin (for example, an API key).
The plugin's manifest URL is shown for reference but cannot be changed. To point to a different manifest, remove the plugin and add it again with the new URL.
# Removing Plugins
If you decide that a plugin is no longer needed:
- 1
Click on the Actions dropdown for the plugin you want to remove.
- 2
Choose Delete and confirm the action.
- 3
The plugin will be uninstalled from your Agent application.