
# Overview
This guide provides detailed instructions for managing local documents within GPT Pro's knowledge base through the admin portal. Local documents are files that you upload directly from your device to GPT Pro.
# Prerequisites
- Administrator access to admin.gpt-pro.com.
- Documents in PDF, DOCX or PPTX format ready for upload.
# Accessing the Local Documents Interface
- Navigate to admin.gpt-pro.com (opens new window).
- Enter your administrator credentials to log in.
- Select 'Documents' from the sidebar to open the document management interface.
- Choose 'local documents'.
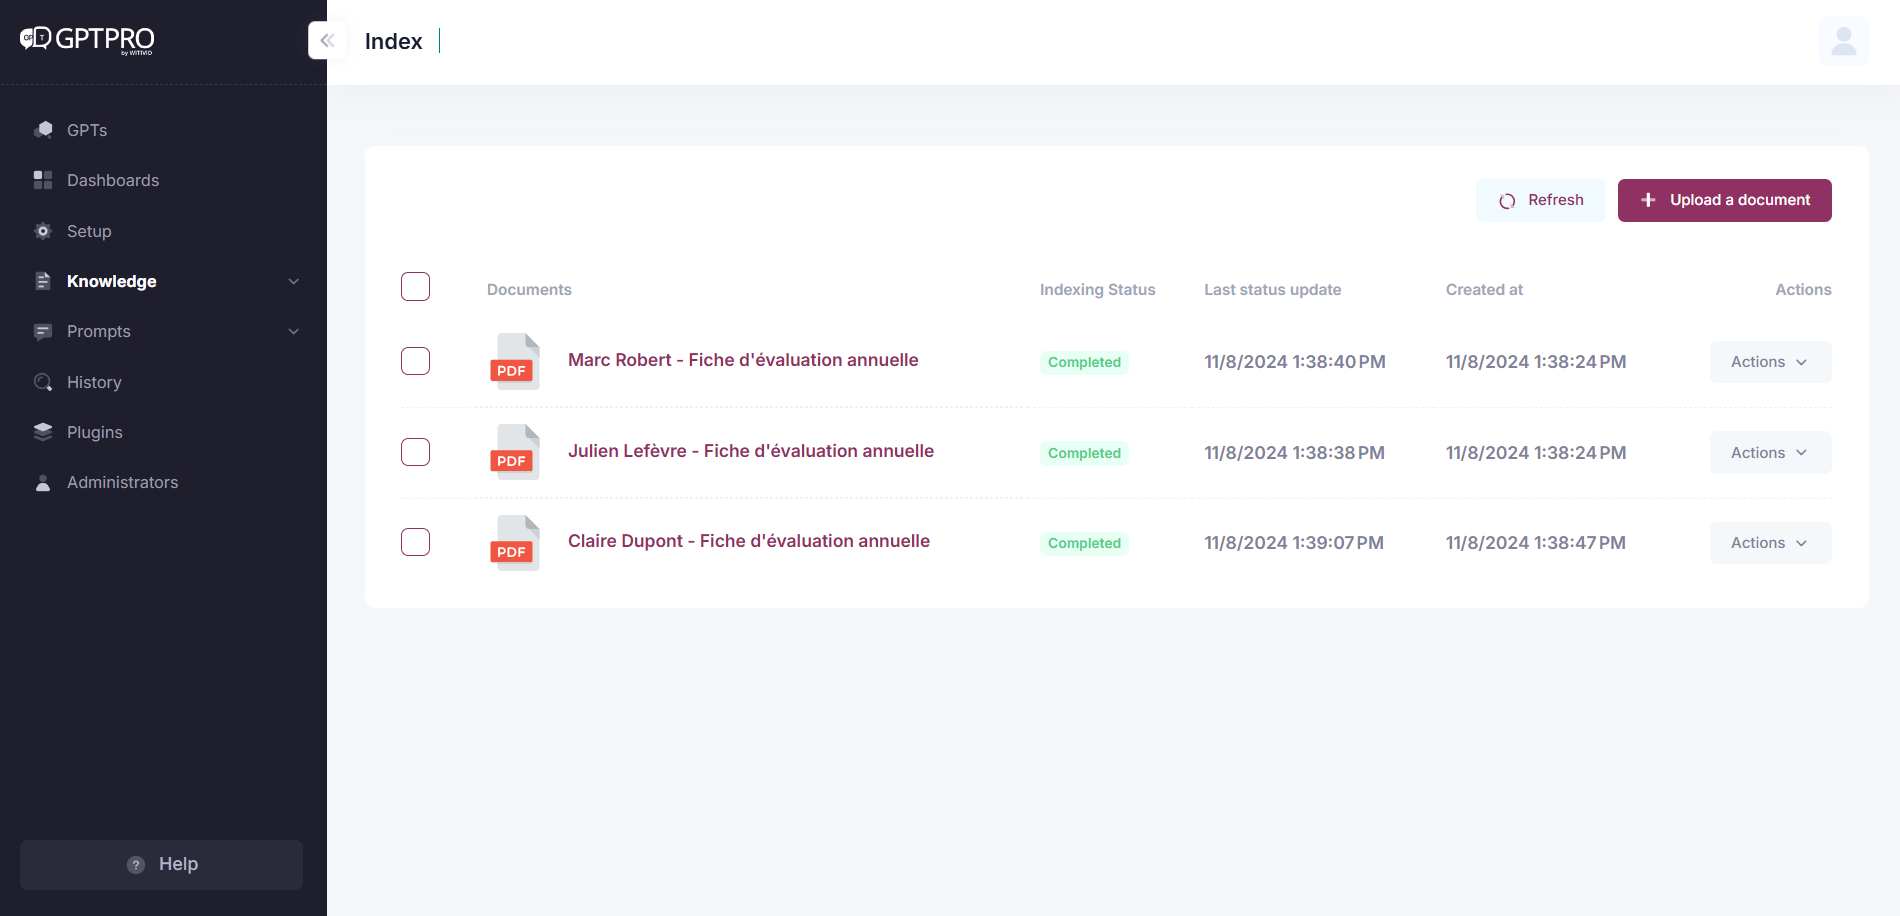
# Viewing Documents
The interface lists all documents with details such as title, format, and the date they were added.
# Uploading a Document
TIP
💡To keep GPT Pro's knowledge base up to date, regularly upload new documents.
- Click '+ Upload a document'.
- Drag and drop your document(s) inside the box or manually choose the PDF or PPT file from your device by clicking 'Attach Files' button.
- The document will upload and be listed with the existing documents.
# Checking Document Status
For updates on your uploaded documents:
- Click
Check my documents status. - A detailed status of each document's upload and processing will be displayed.
# Performing Actions on Documents
- To view the document, simply click on the document's title to view the content.
- Use the
Actionsdropdown next to each document to:- Download: Download the document uploaded in the list.
- Delete: Remove the document from GPT Pro.
# Best Practices
- Update and review documents regularly.
- Remove outdated content to maintain GPT Pro's performance.