
# How to Add a Prompt in GPT Pro
Adding a prompt in GPT Pro allows you to customize the interaction experience by predefining inputs that can guide the AI in generating specific types of content. Here's how you can add a prompt to GPT Pro:
# Step 1: Access the Admin Interface
First, ensure that you are logged in to the GPT Pro admin interface at admin.gpt-pro.com. You will need administrative privileges to add or edit prompts.
# Step 2: Navigate to Prompts
Upon logging in, locate the "Prompts" option on the sidebar. Click on 'Add Prompt' sub navigation bar, this will take you to the section where you can manage your prompts.
# Step 3: Create a New Prompt
Click on the "Create a New Prompt" button. This will open a form where you can define the details of your new prompt.
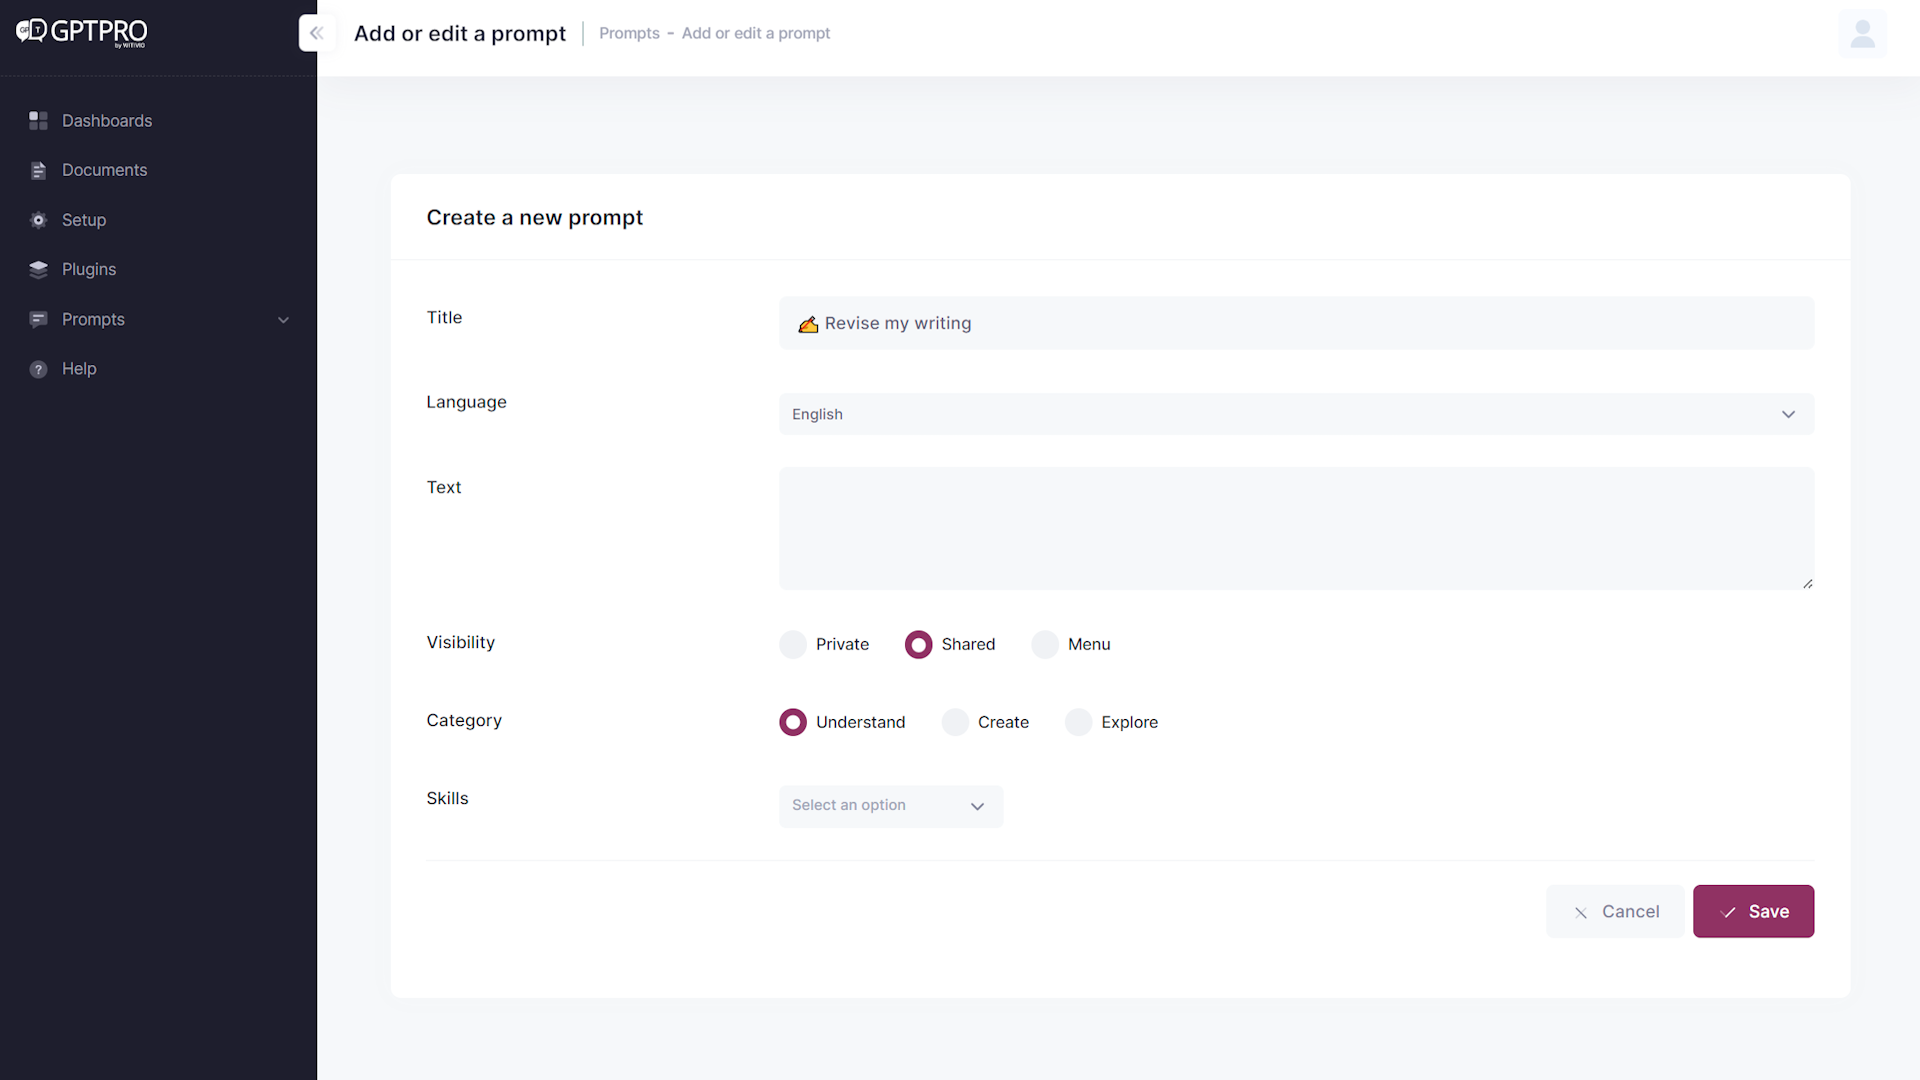
# Step 4: Fill in the Prompt Details
In the form, you will need to provide the following details:
- Title: Give your prompt a descriptive title.
- Language: Choose the language for your prompt.
- Text: Enter the text of the prompt. This is what will guide the AI.
- Visibility: Set the visibility to "Private" or "Shared" or "Menu".
- Category: Select a category for your prompt to help organize it within the system.
TIP
A good title is concise but descriptive enough to give users a clear indication of what the prompt will generate.
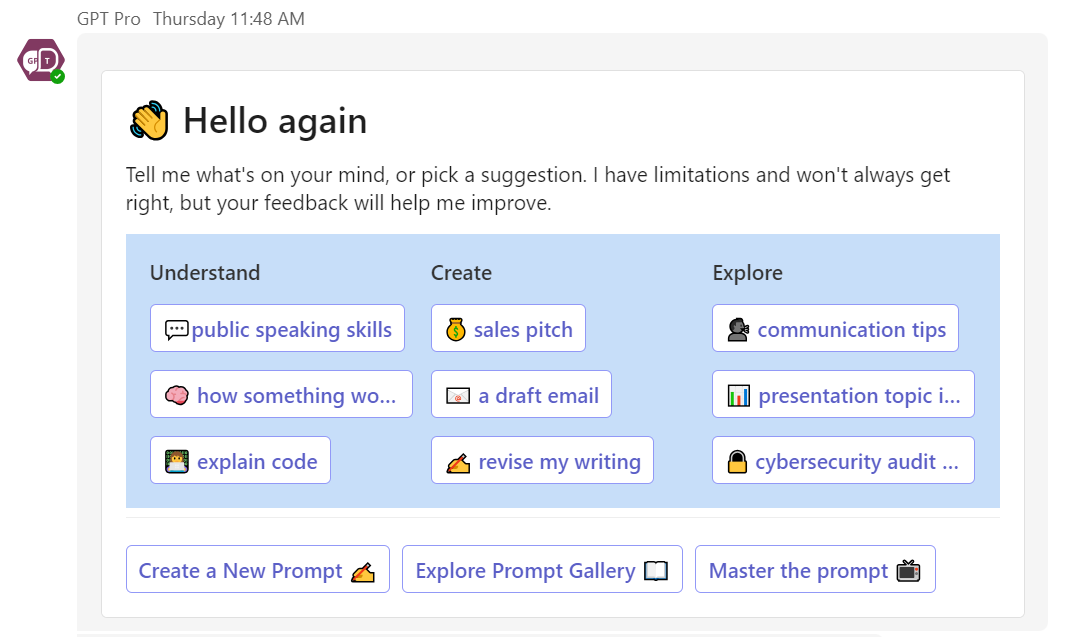
Menu
The menu option will put your prompt in the welcome card menu.
# Step 5: Save Your Prompt
After filling out all the details, click the "Save" button. Your new prompt will now be added to GPT Pro and will be available for use.
WARNING
Ensure that your prompt text is clear and unambiguous to guide the AI effectively. Vague prompts can lead to unexpected results.
# Step 6: Verify the Prompt
To verify that your prompt has been added, you can type "I start with GPT Pro" on the welcome card. Your new prompt should be visible among the available options.
TIP
Regularly review and test your prompts to ensure they are producing the desired outcomes and update them as necessary for the best user experience.
By following these steps, you can add a variety of prompts to your GPT Pro system, tailoring the AI's responses to better suit your needs or the needs of your users.
# Setting up a welcome card
# What is a welcome card?
Welcome card is an intuitive, interactive prompt shortcut that greets users upon accessing GPT Pro chatbox. It provides an array of quick-start options designed to assist users in navigating the service, whether they want to understand a concept, create content, or explore resources. It streamlines the user experience by offering suggestions that help users immediately leverage the capabilities of GPT Pro.
# How does a welcome card work?
To manage your welcome card, simply click on 'Prompt' in your admin center navigation bar, then 'Welcome Card' in its sub navigation bar. Upon registering to GPT Pro, two welcome cards will be set up automatically as a default model. Both versions are in french and english. The welcome card's language will follow the language set up on user's Microsoft Teams.
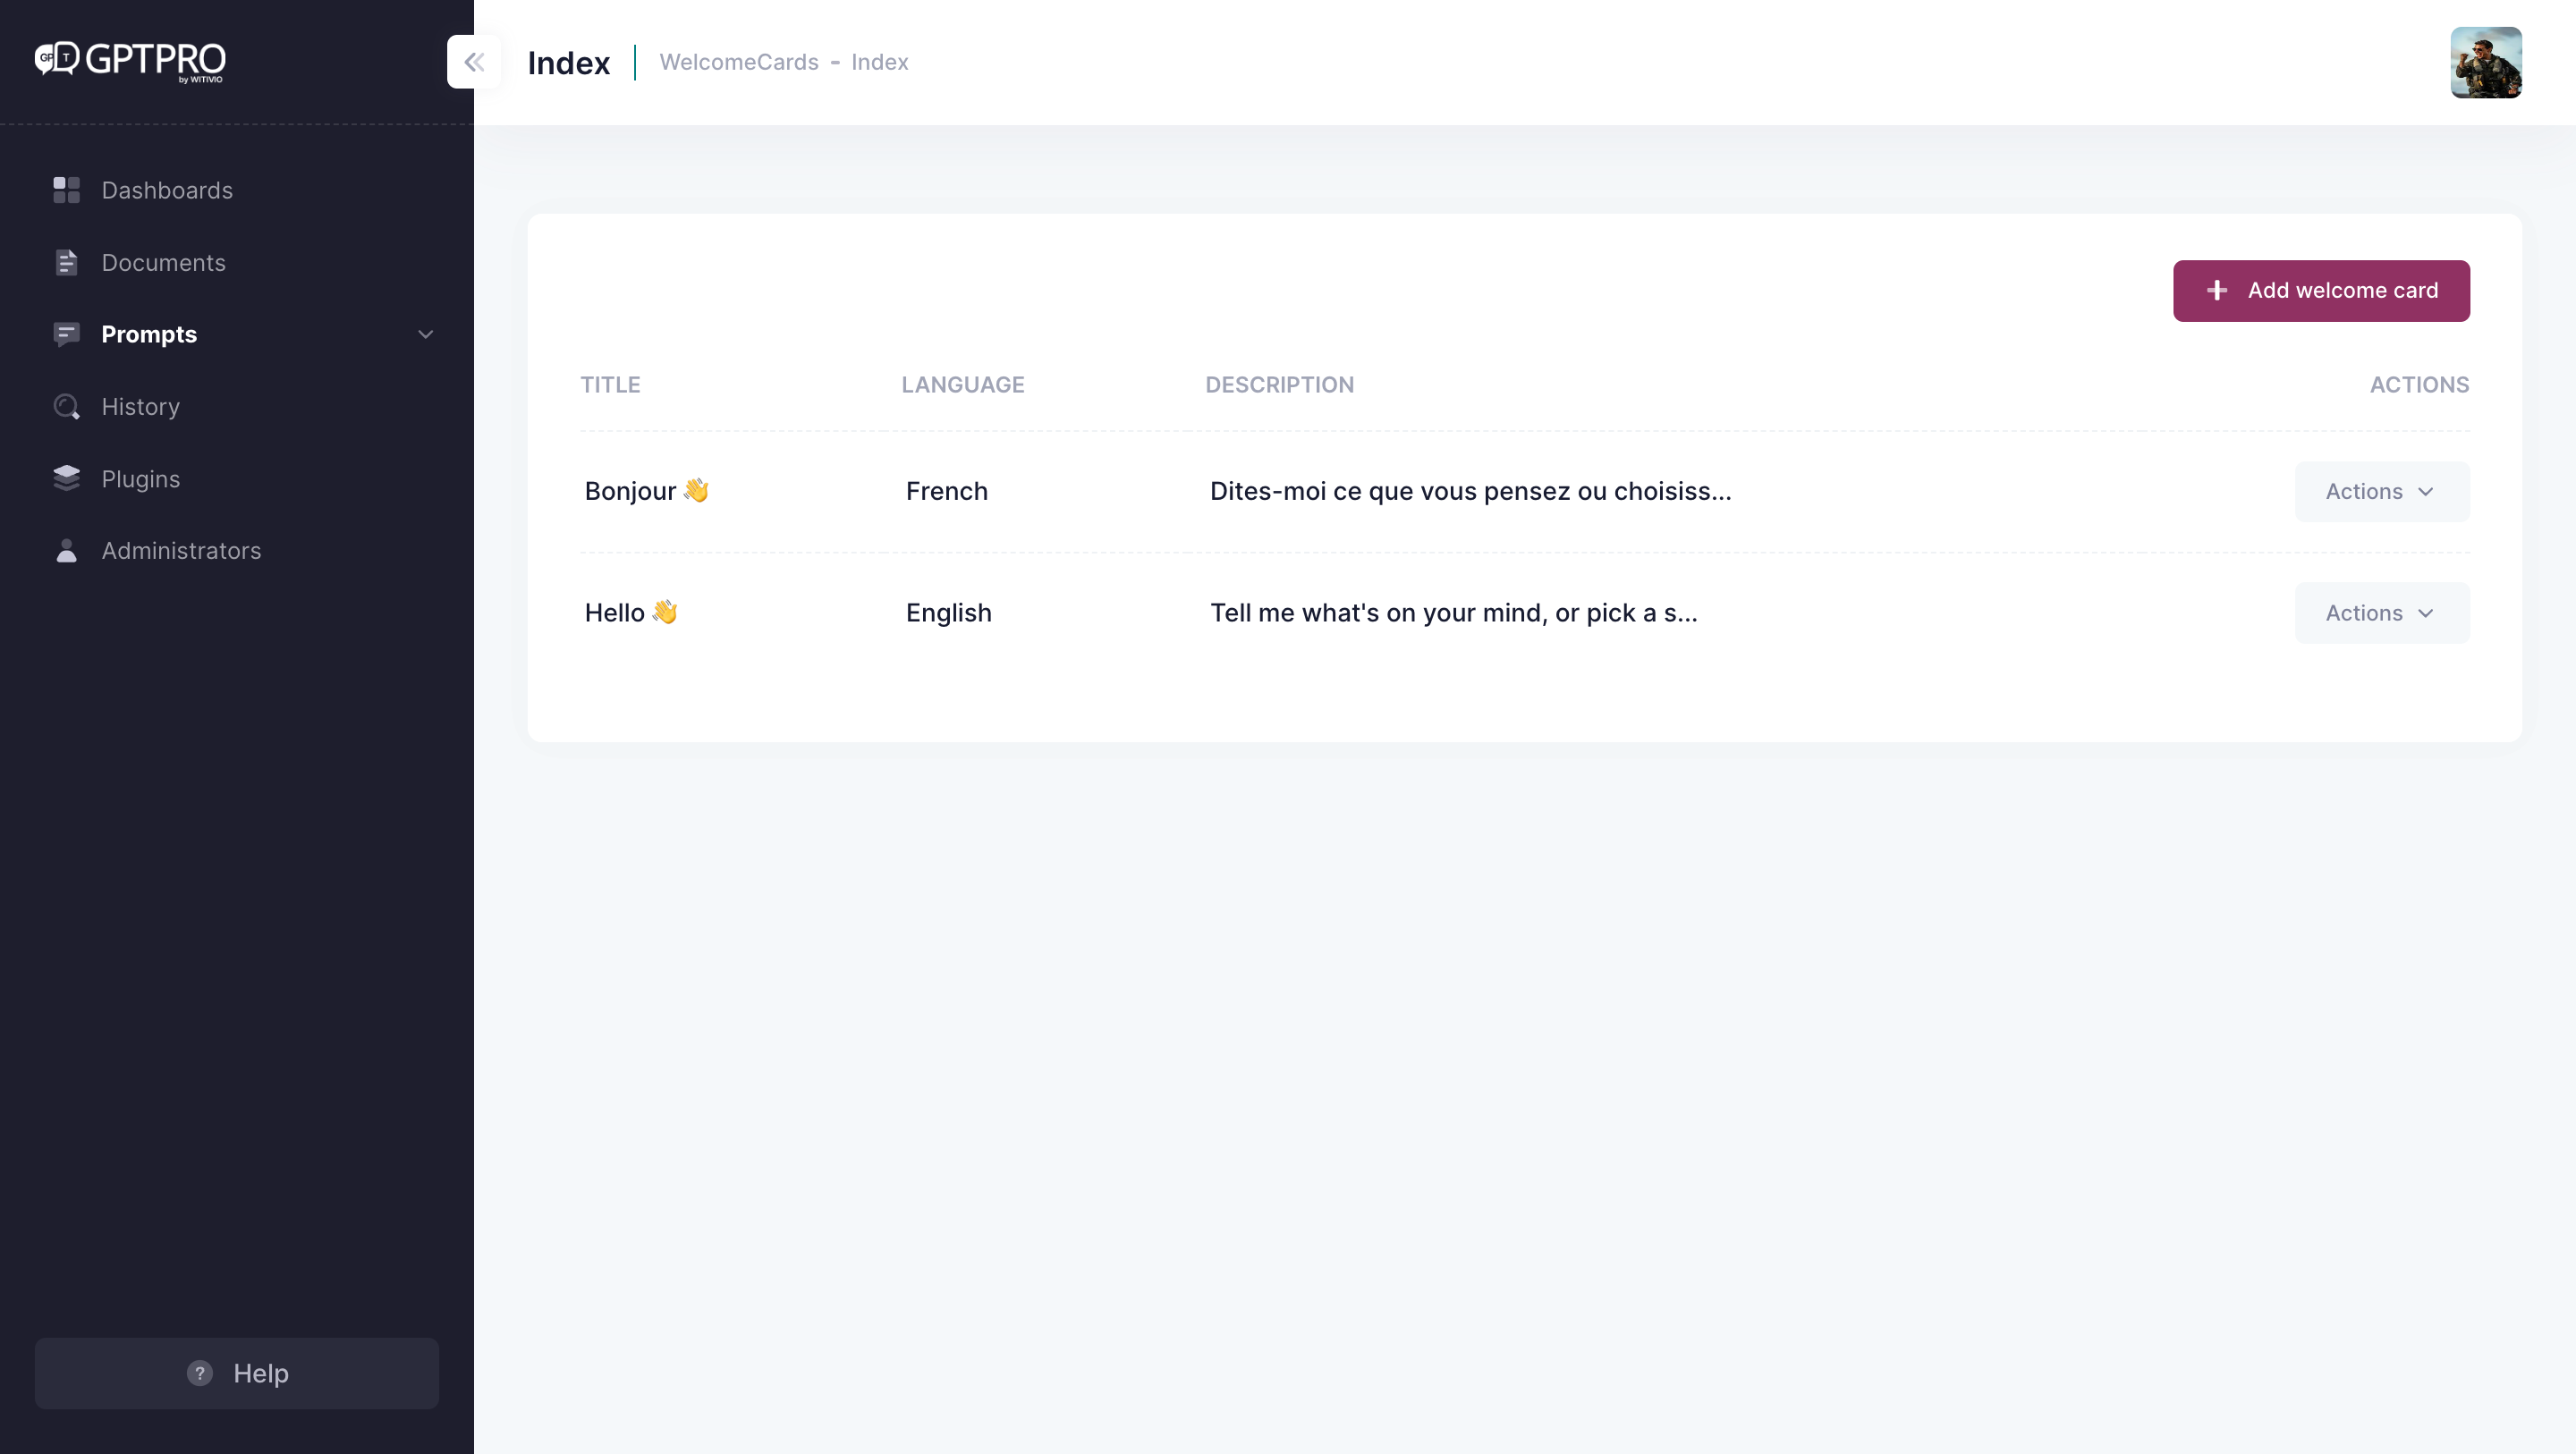
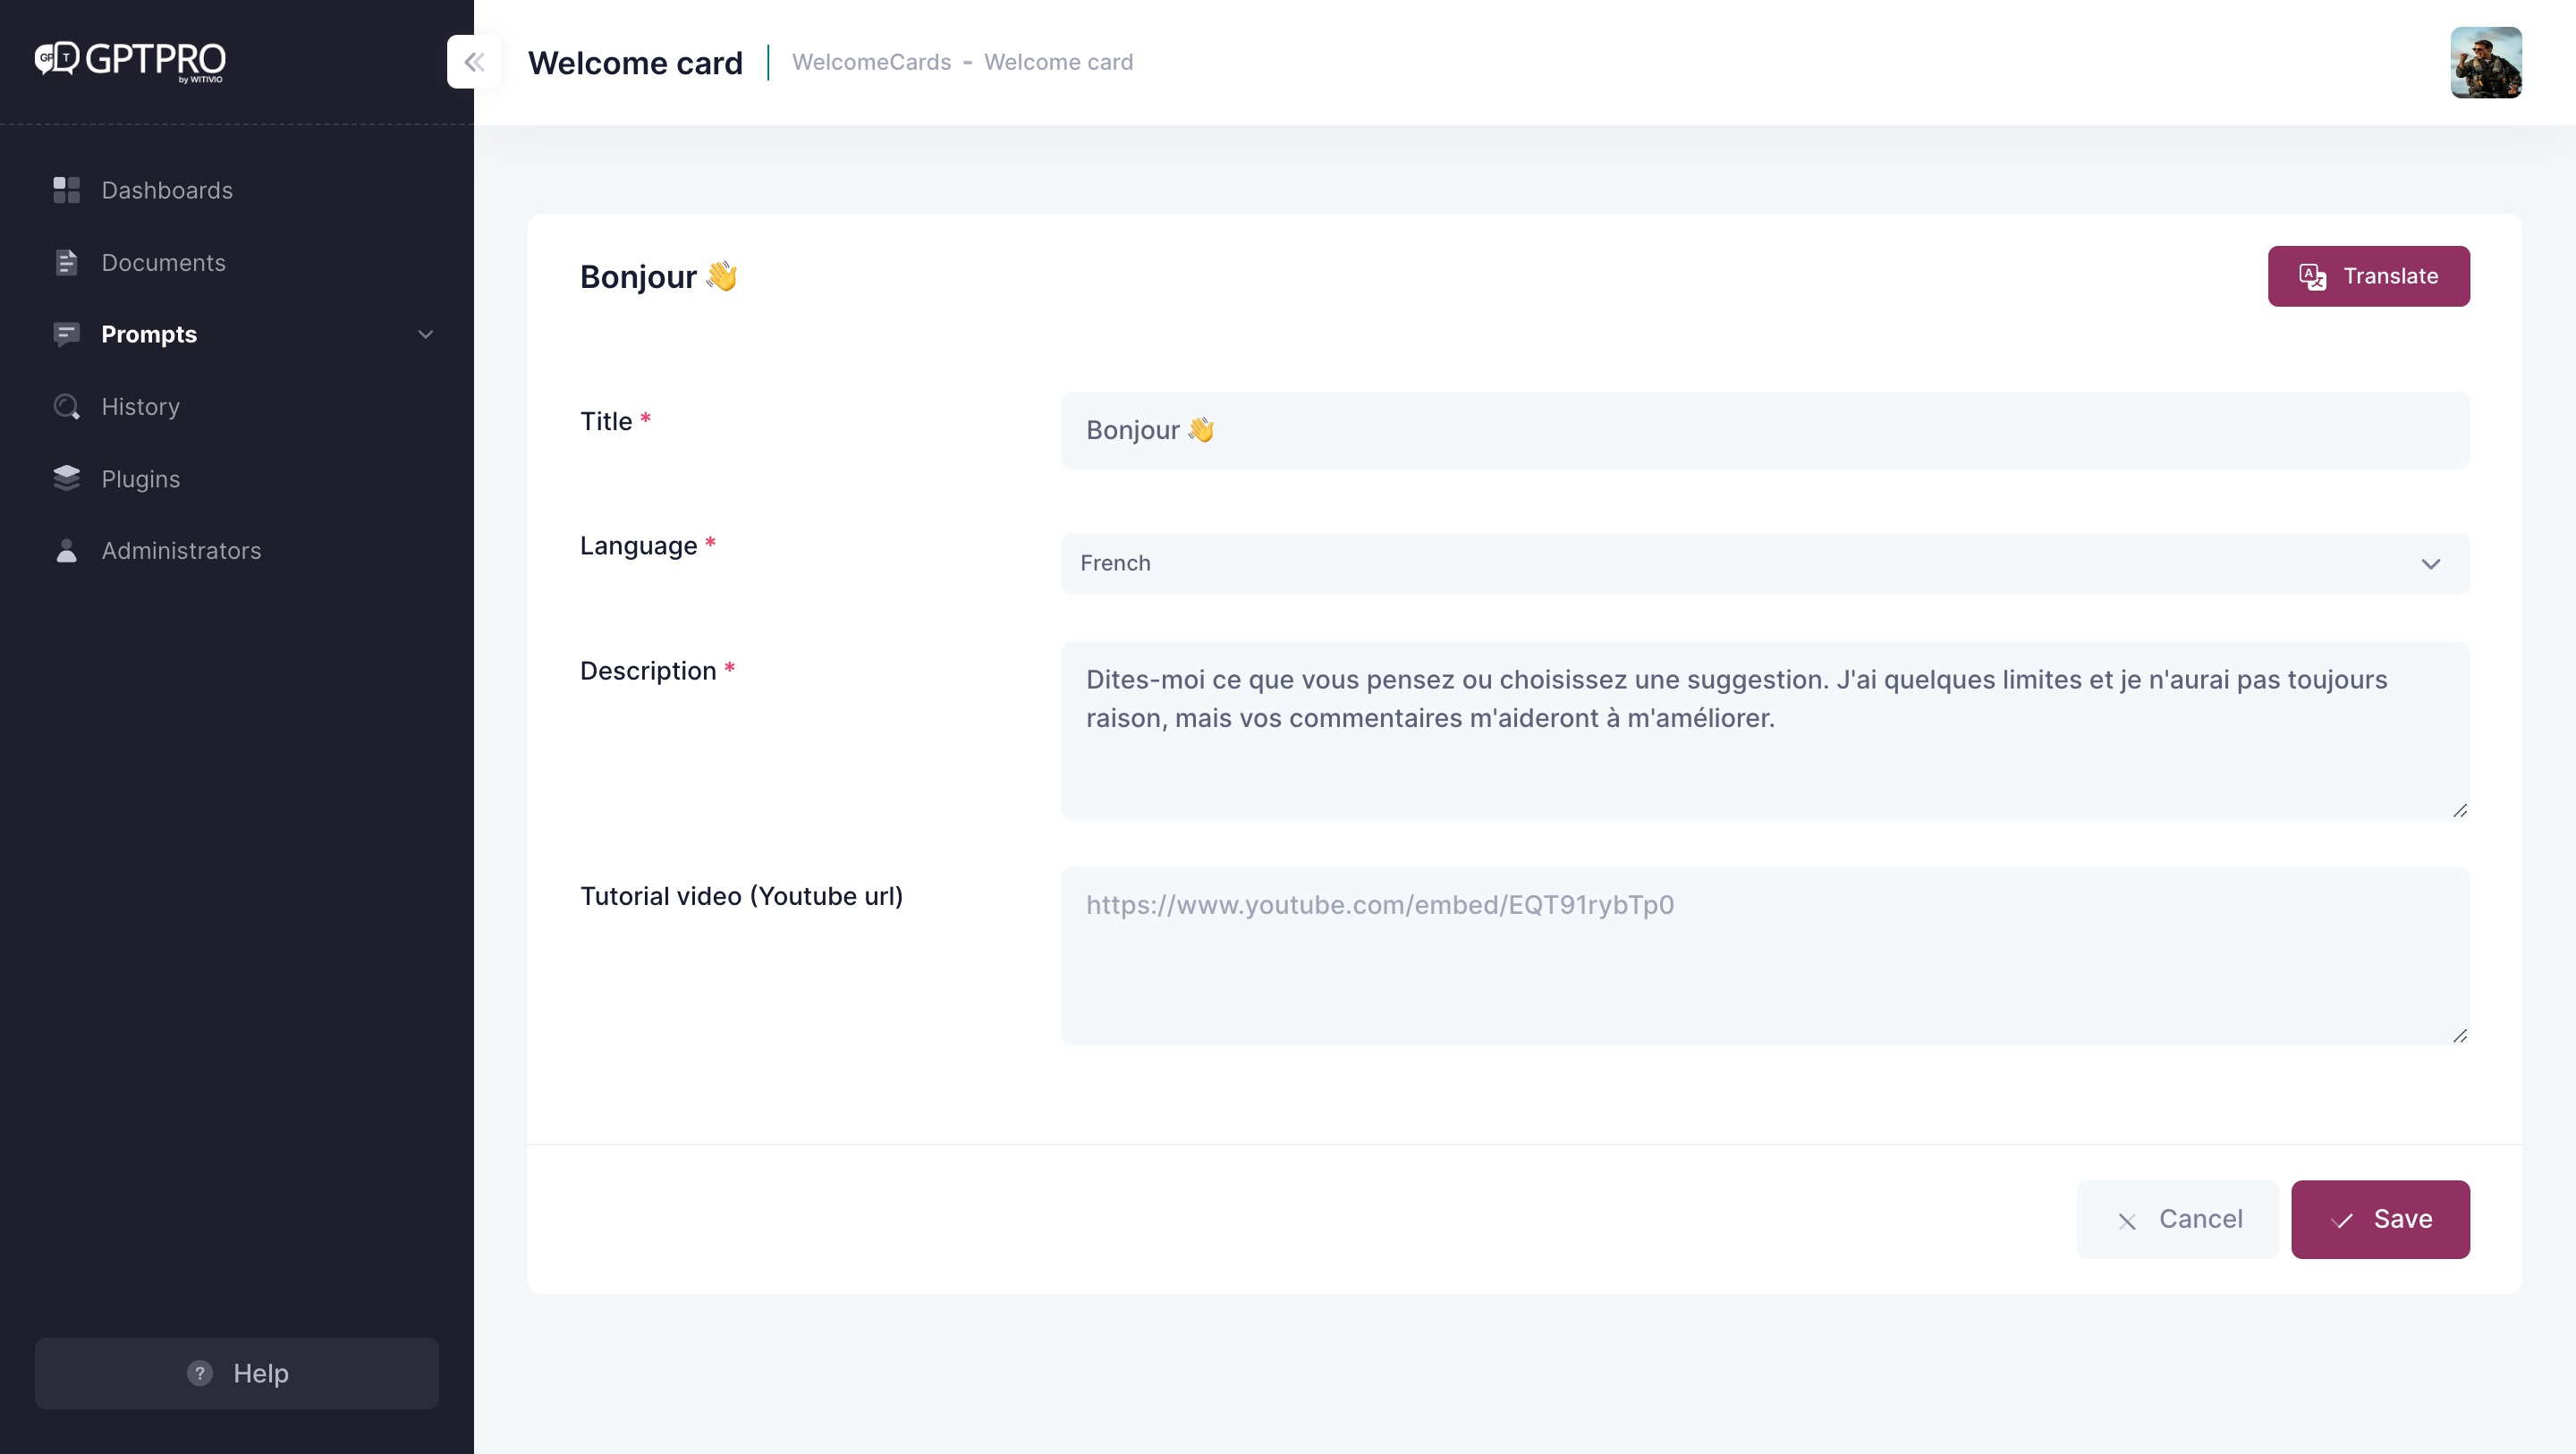
# How to set up a new language for the welcome card?
In order to set-up a new language for a pre-existing welcome card, simply click on 'translate' button, or create a new welcome card by clicking 'Add Welcome Card' button and set it up in another language.
# How to define the AI Chatbot's personality?
# Advanced personalization through system prompt
Better craft your AI Chatbot's personality by giving it instructions about how it should behave and explain the contexts it should reference when generating a response. To do this, simply access 'Prompt' in the admin center navigation bar, then head to 'System Prompt' on the sub navigation bar.
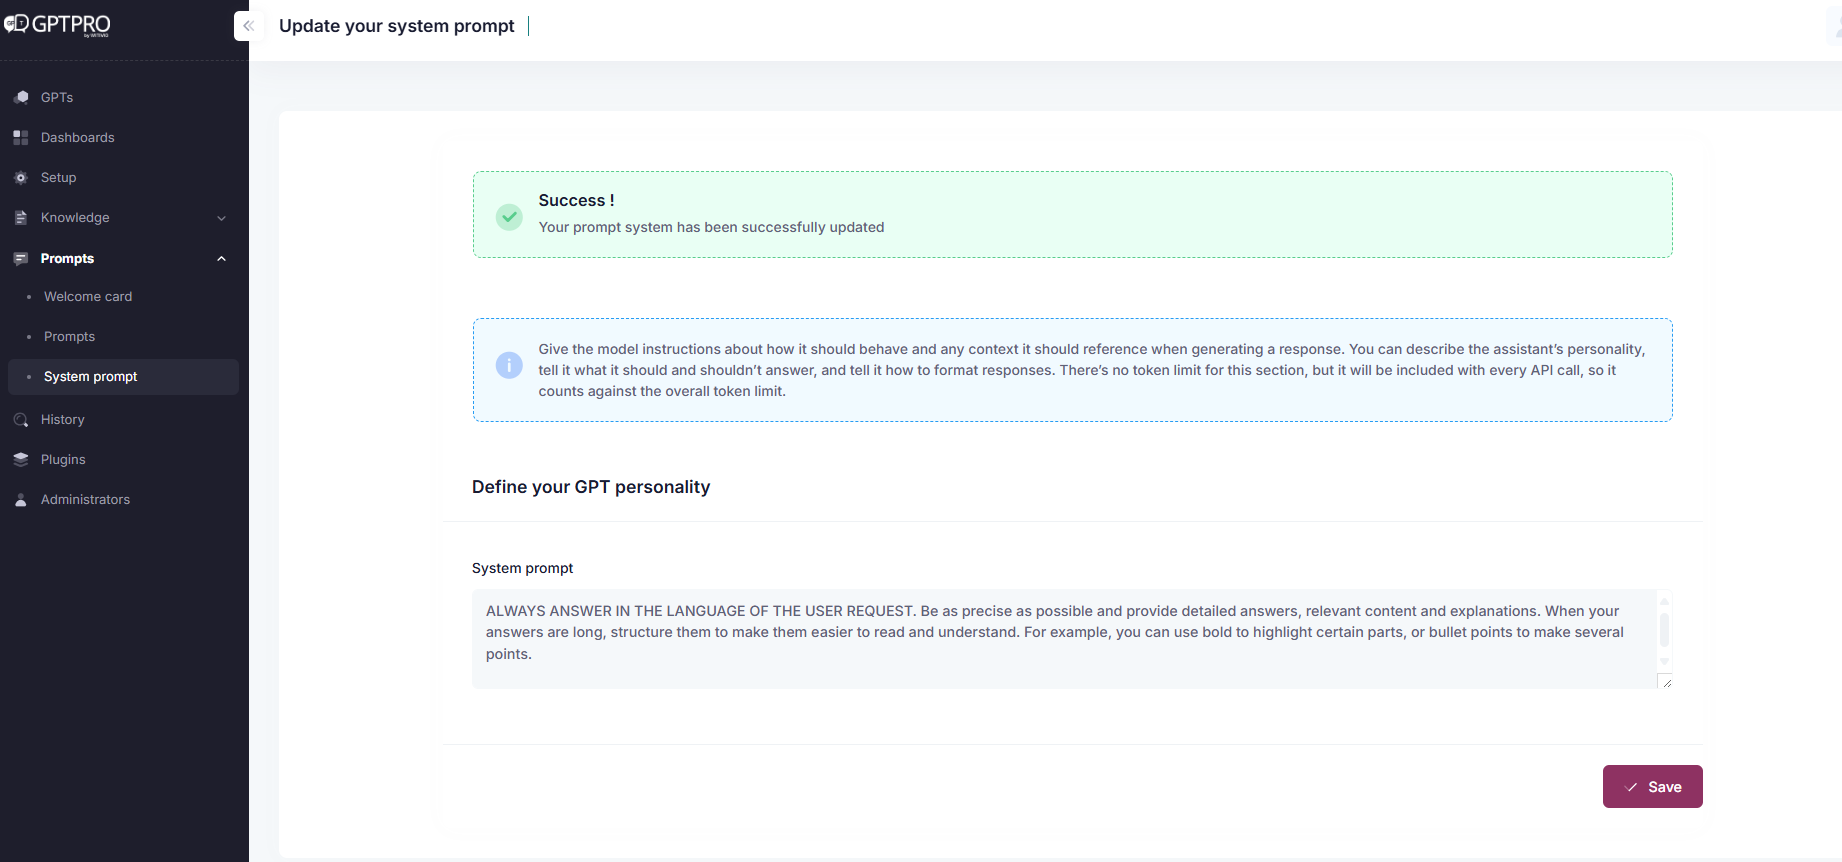
In the system prompt section you can either describe the assistant’s personality, tell it what it should and shouldn’t answer, and tell it how to format responses. There’s no token limit for this section, but it will be included with every API call, so it counts against the overall token limit.
← History Instructions →