
# Assign a Group to a Contact in Contacts Pro
Groups keep your contacts organized by team, project, or location, and they power the search and filter tools. You can assign a contact to a group in three ways: while creating a group, while creating or editing a contact, or from Group Administration.
# Assign a group when creating a group
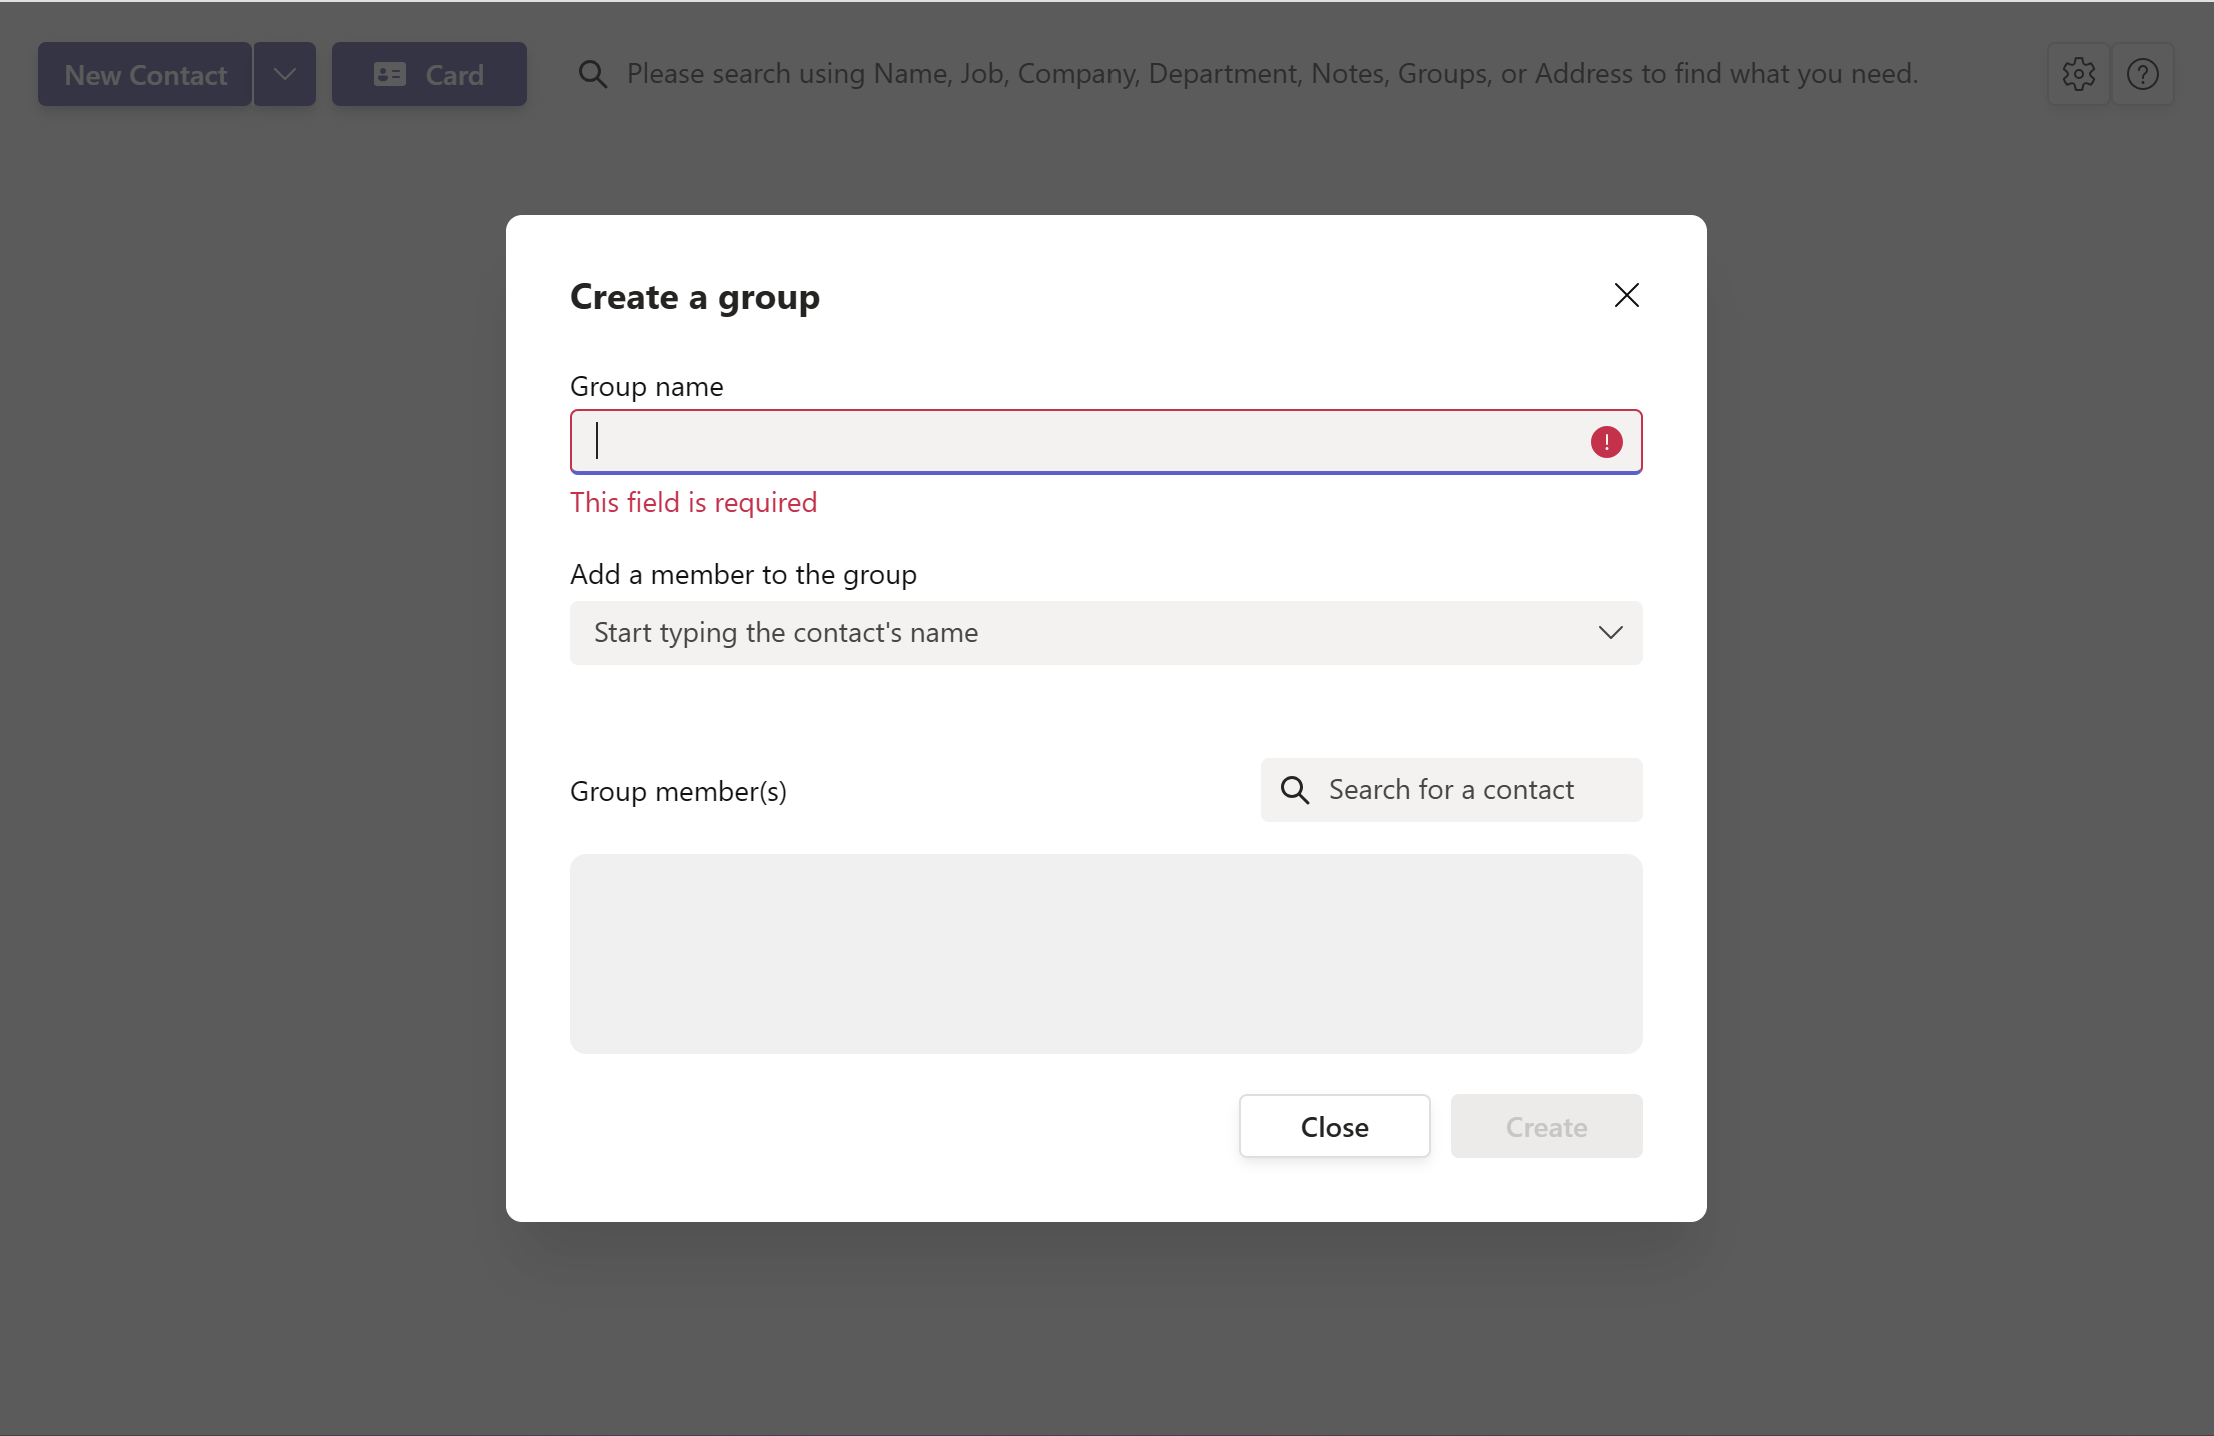
When you create a new group, you can add contacts to it right away.
- 1
Start a new group from New Contact > New Group.
- 2
Add contacts to the group directly in the group form, then save.
# Assign a group when creating or editing a contact
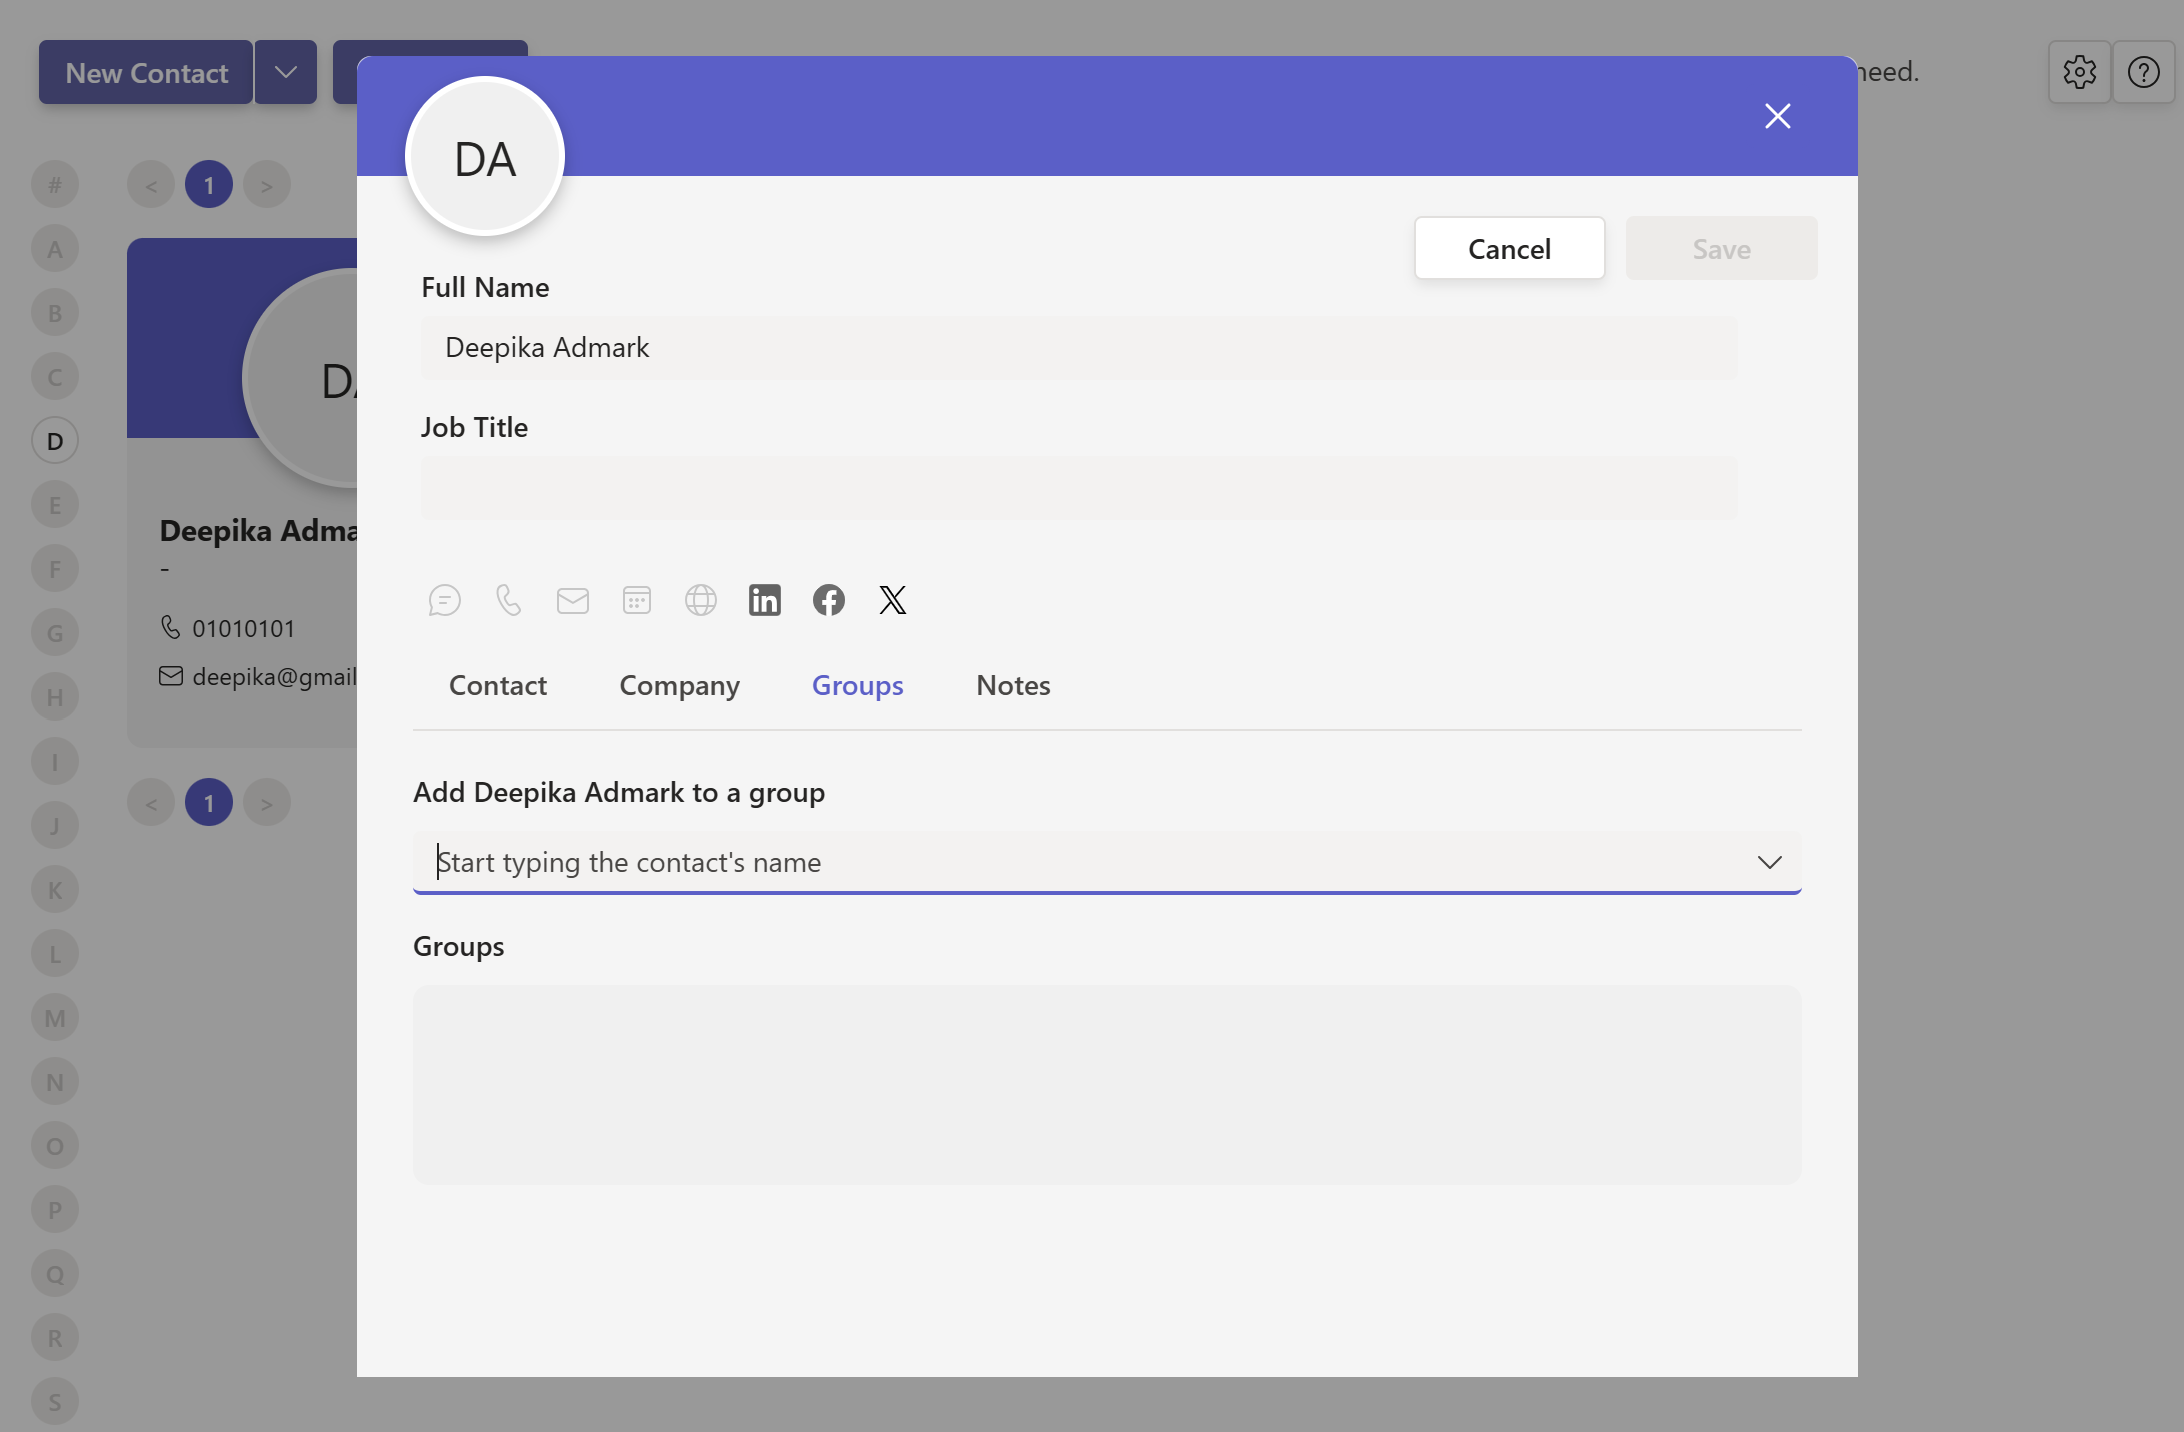
The Groups tab on the contact form lets you attach a contact to any existing group.
- 1
Open a contact for creation or editing, then go to the Groups tab.
- 2
Select one or more groups to associate with the contact.
- 3
Click Save to apply the group assignment.
# Assign a group from Group Administration
Group Administration is where you manage all of your groups in one place, including their members.
- 1
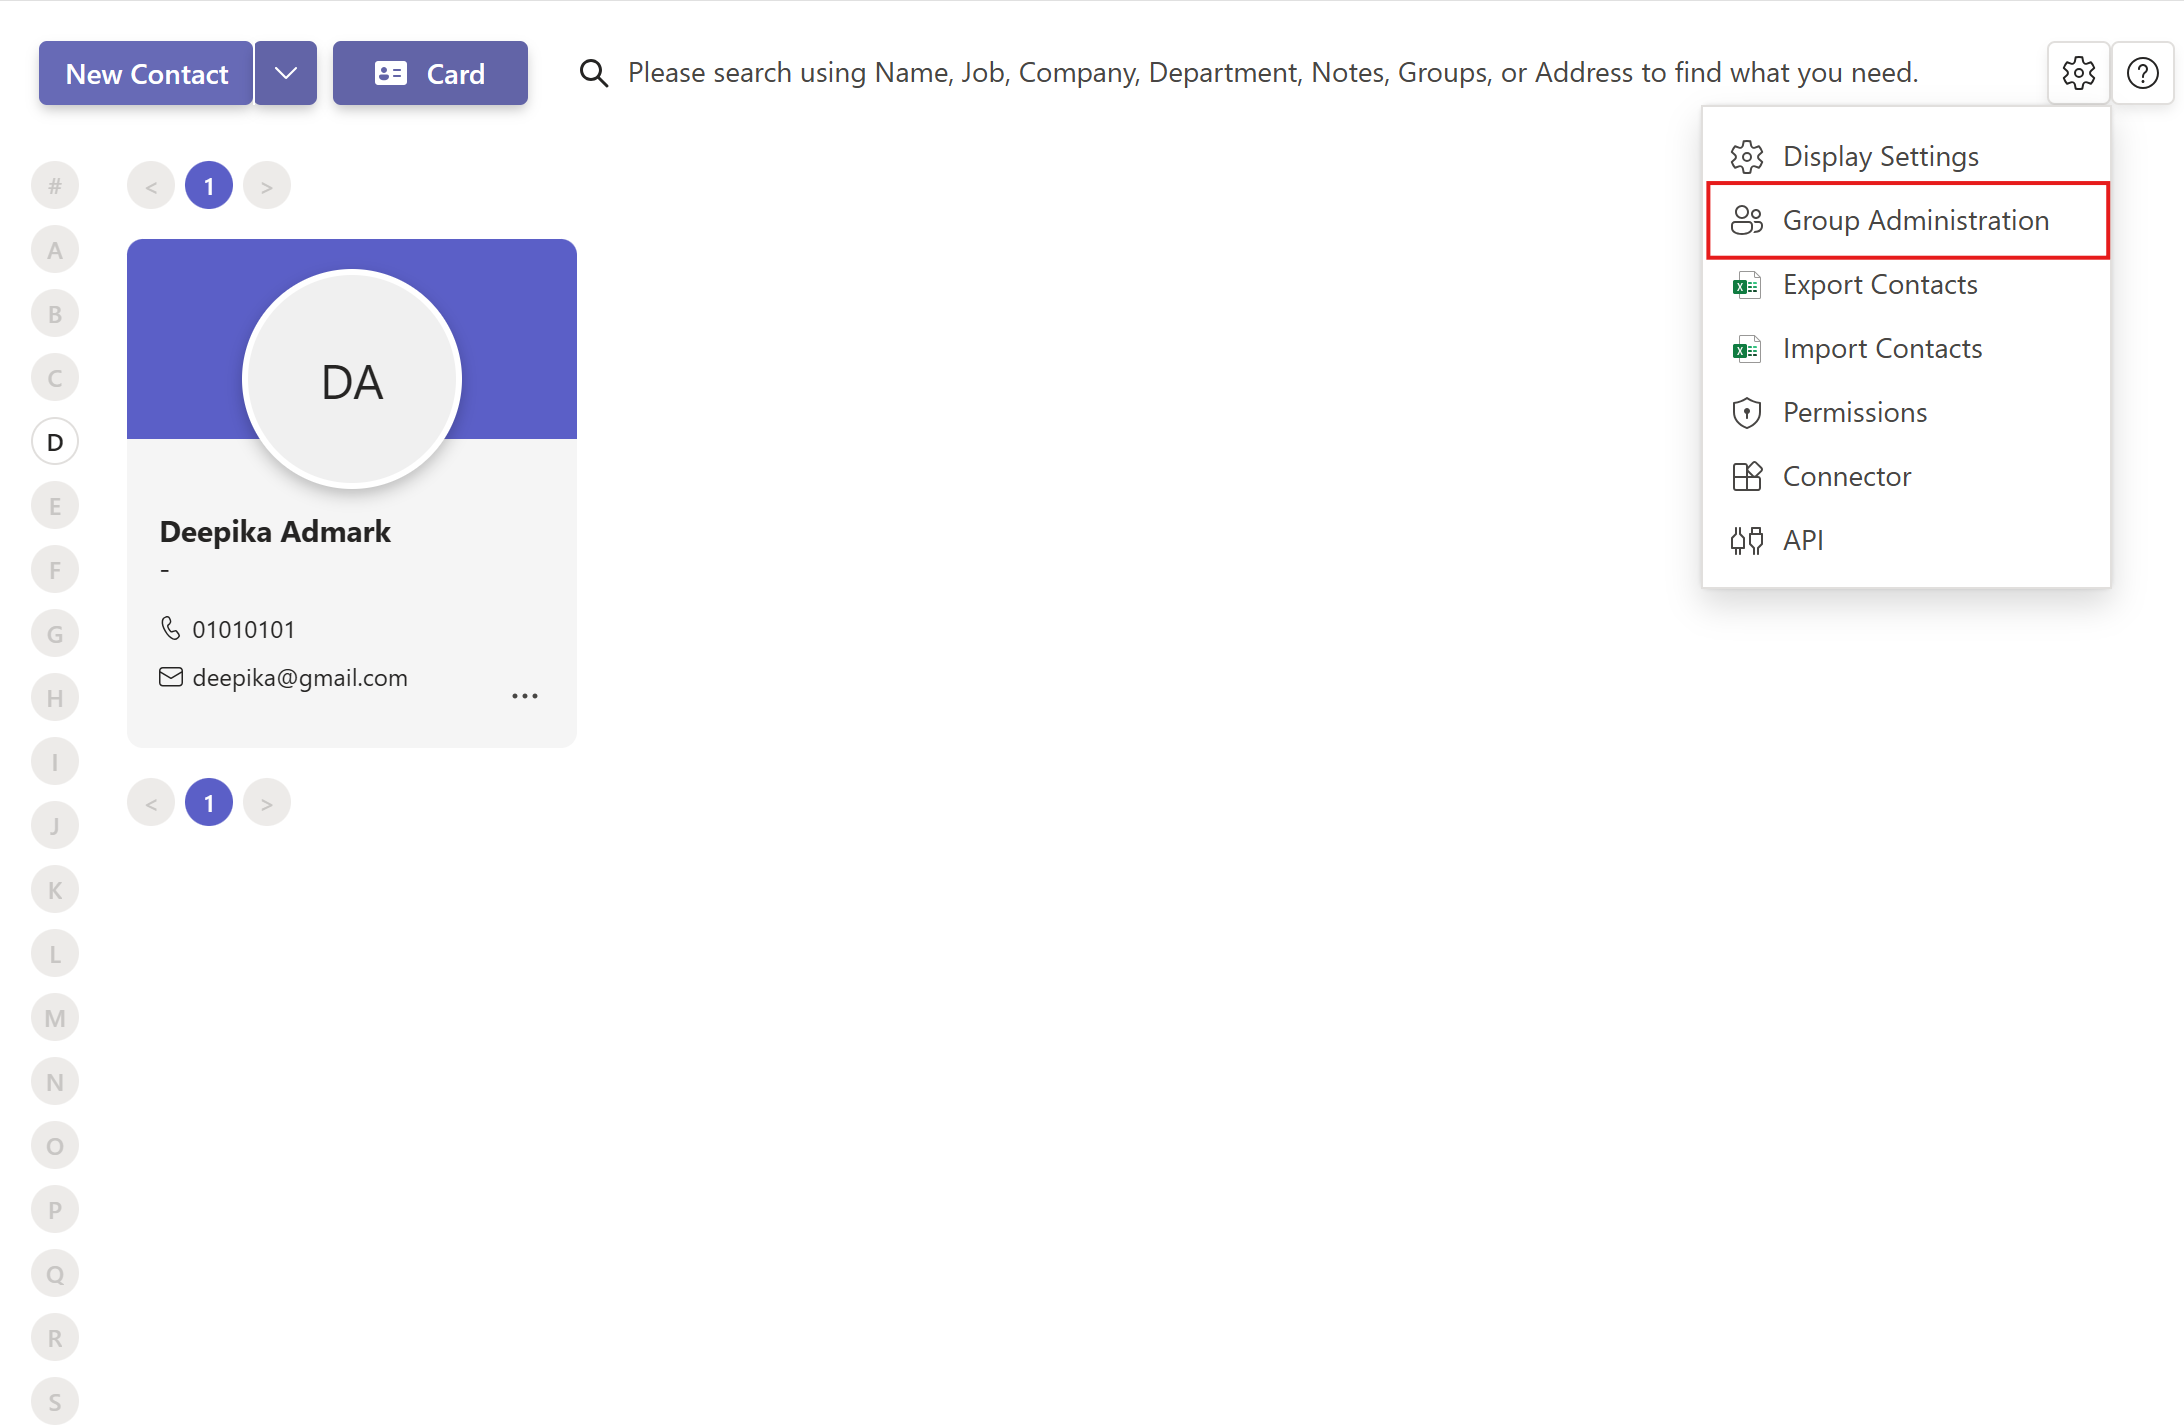
Open the Settings menu at the top right and select Group Administration.
- 2
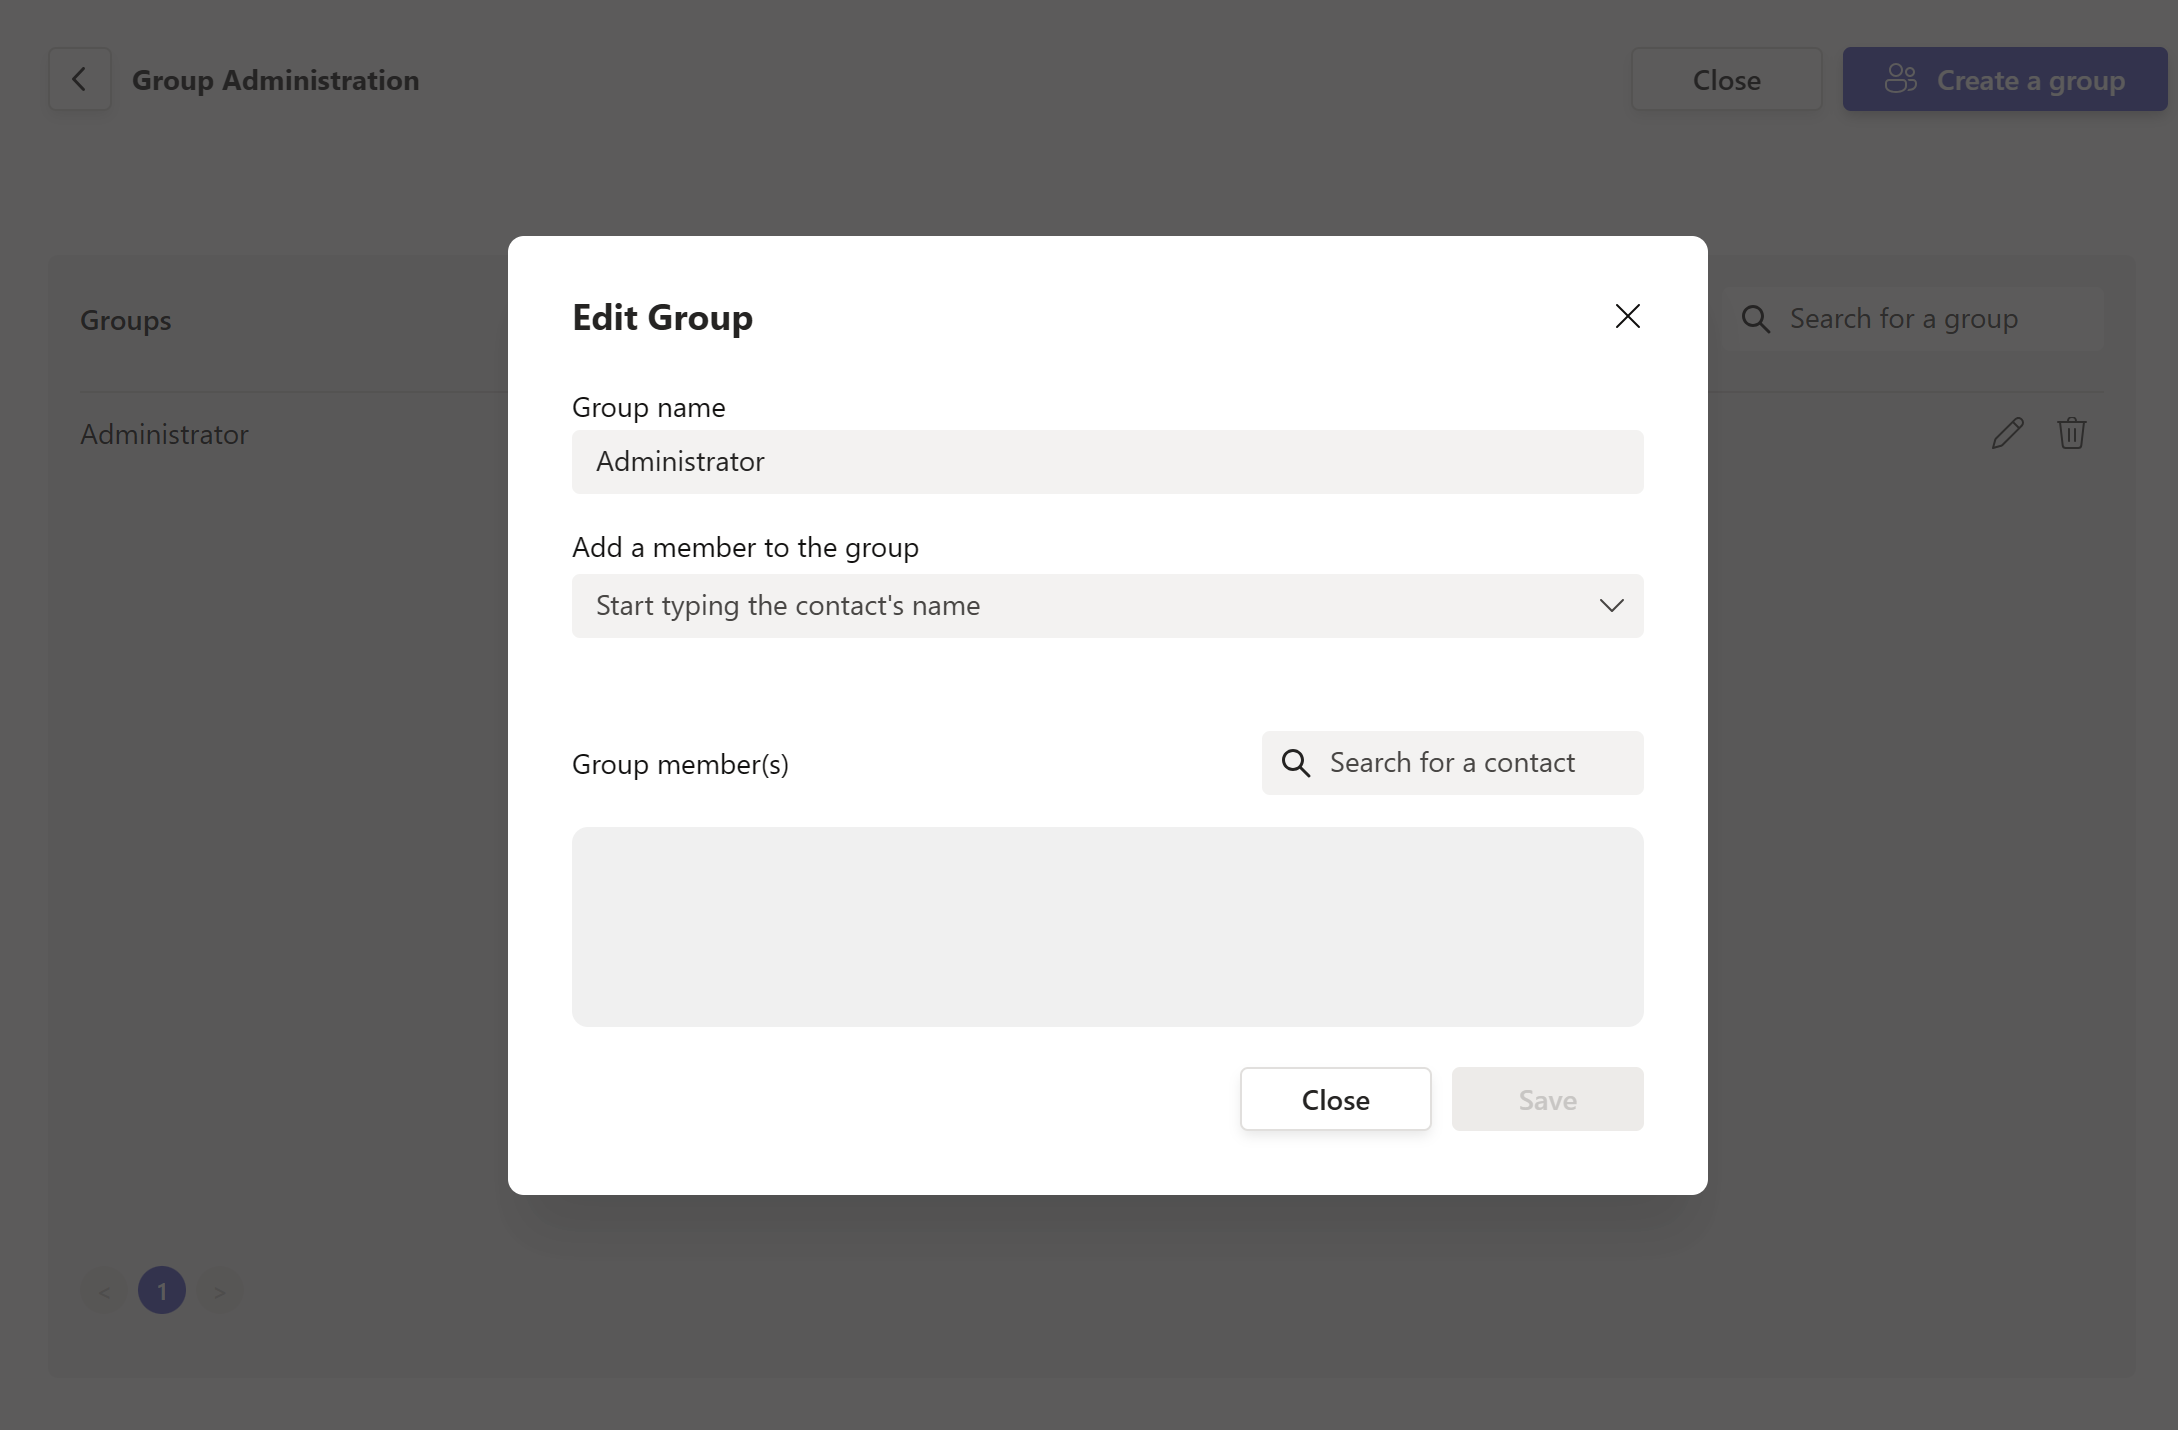
Click the Edit icon next to the group you want to change.
- 3
Add or remove contacts in the pop-up window, then save.
Editing a group opens a small window where you can add or remove its contacts.
# Related pages
- Create the groups you assign in how to add a new group.
- Update contact details in how to edit a contact.
- Find people by group in how to search and filter contacts.