
# Advanced event personalization in Calendar Pro
Make every event easy to read at a glance. Calendar Pro lets you add emojis and colors, set events to repeat, tag them by topic, attach files, and pin a location, so your team can scan the shared calendar and understand it in seconds.
# Personalization options
# Emojis
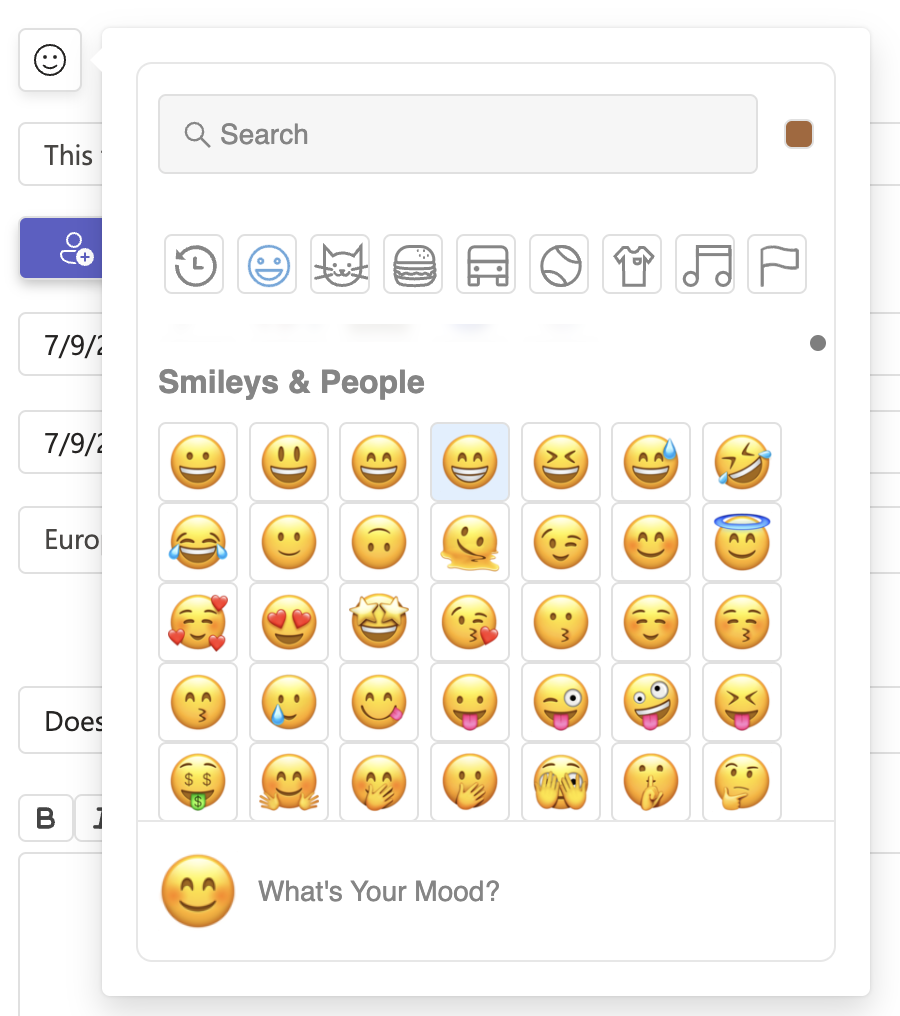
Add an emoji to represent your event visually, so you and your team can identify events in a single look (for example, 🎉 launch, ✅ review, 🚀 go-live). You can add emojis to event titles and descriptions to make items stand out.
# Event colors
Assign a color to your event by clicking the color box. Colors help you visually distinguish different types of events on the shared calendar.

# Recurring events
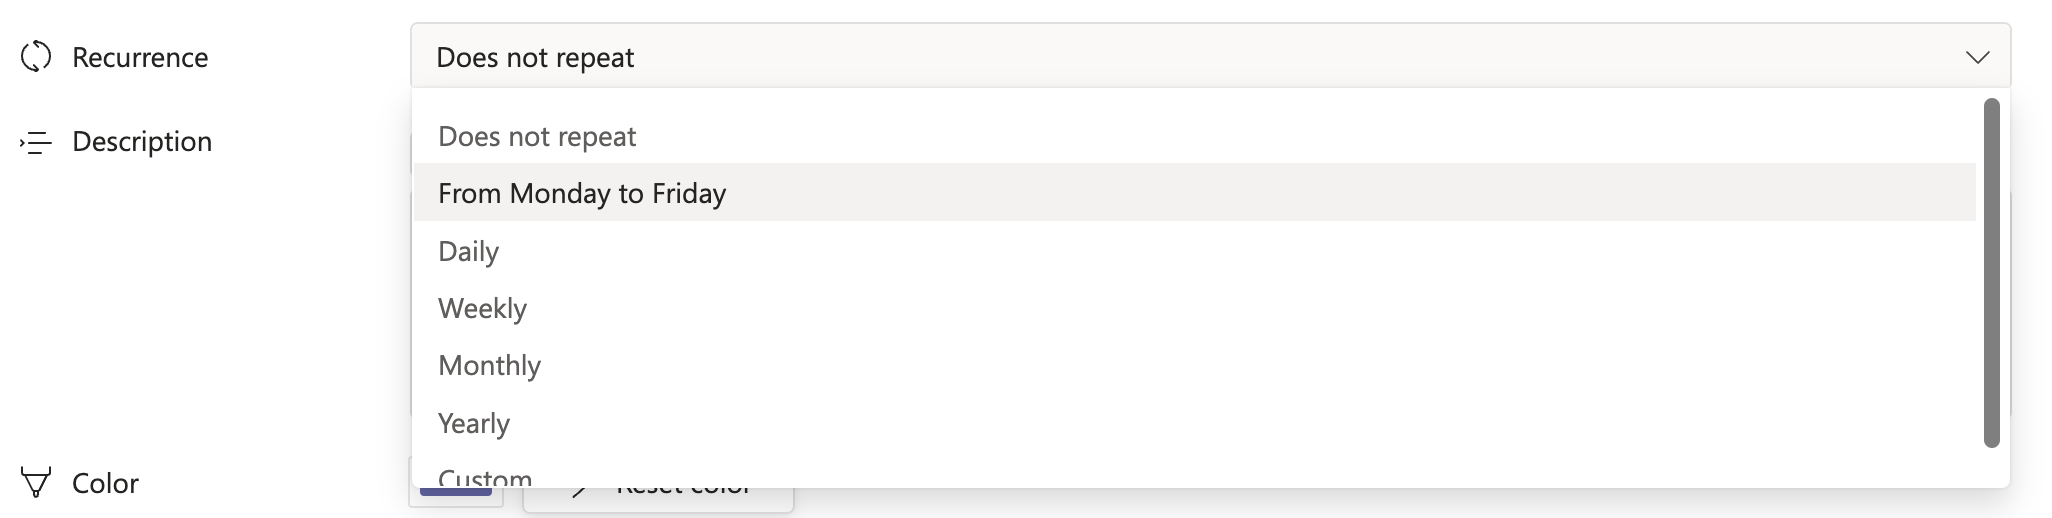
Schedule events that repeat on a regular pattern. Set the frequency of the event, such as daily, weekly, or monthly, from the Recurrence menu.
- 1
Open the event form and select Recurrence.
- 2
Choose the pattern, such as Daily, Weekly, or Monthly.
- 3
Confirm and click Save.
Recurring events can be booked for up to 1 year.
# Tags
Use tags to organize and categorize events, such as Meeting, Deadline, or PTO. Tags make events easier to search and filter, and you can combine several tags to refine the view. You will find tags in the Advanced section of the event form.

# File attachments
Attach relevant files to your event so everyone has the documents they need in one place.
- 1
Click Add in the event form to attach a file.
- 2
Select the file from your device.
- 3
Click Save to confirm the attachment.
Files are stored in your organization's Microsoft 365 storage (Teams SharePoint or OneDrive).

# Event location
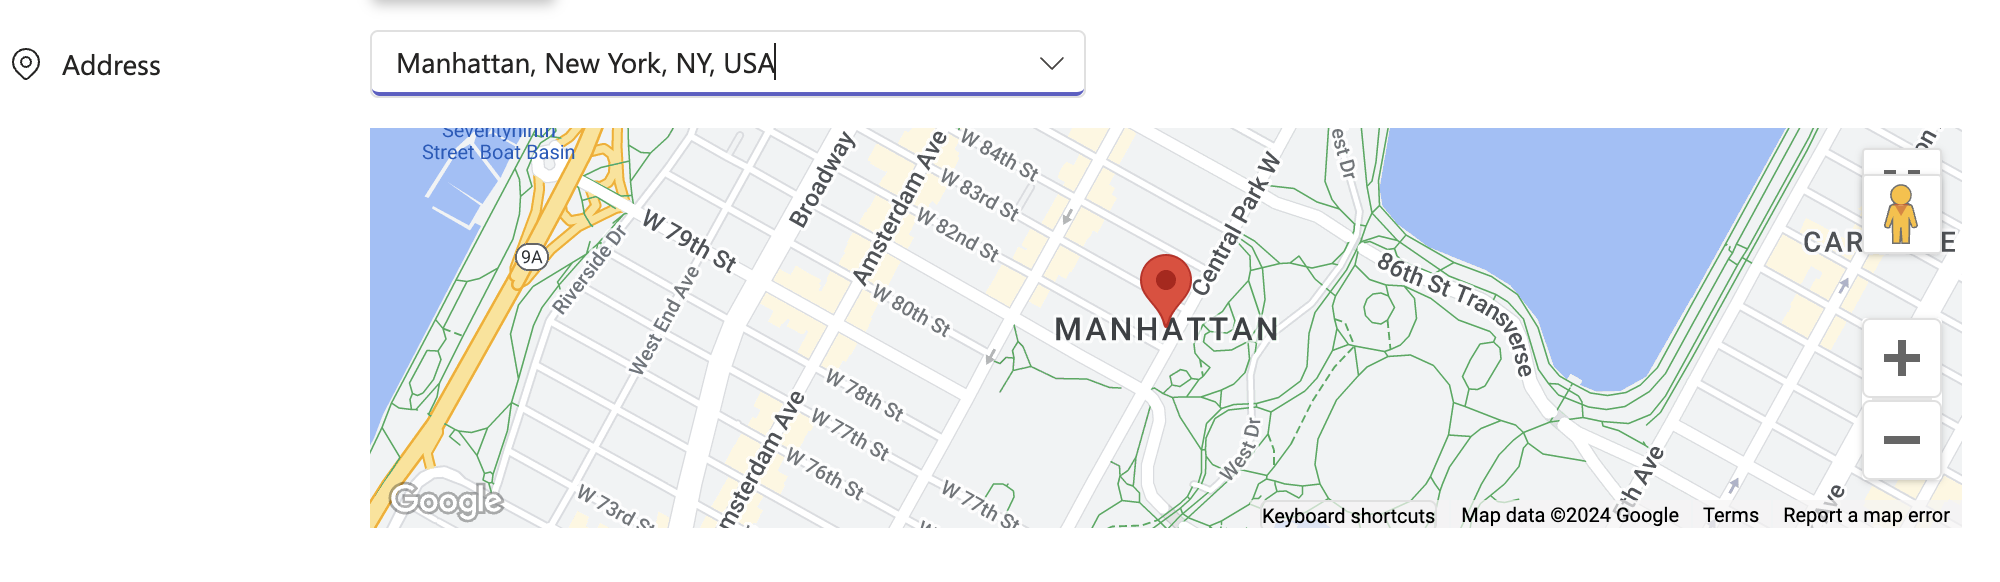
Add location details to your events to help participants find the venue. Use the Address field to enter the location. Calendar Pro can then provide directions and map integration for participants.
# Related pages
- Creating and managing events
- Managing recurring events
- Add and manage tags
- Files in an event
- Calendar Pro Get Started guide