
# Recurring events in Calendar Pro
Recurring events let you schedule a meeting or reminder once and have Calendar Pro repeat it on the pattern you choose, from a simple daily cadence to a fully custom rule. This page shows how to create, customize, edit, and delete recurring events in Microsoft Teams.
# Create a recurring event
- 1
Open the Calendar Pro tab, then click a day or the New button.
- 2
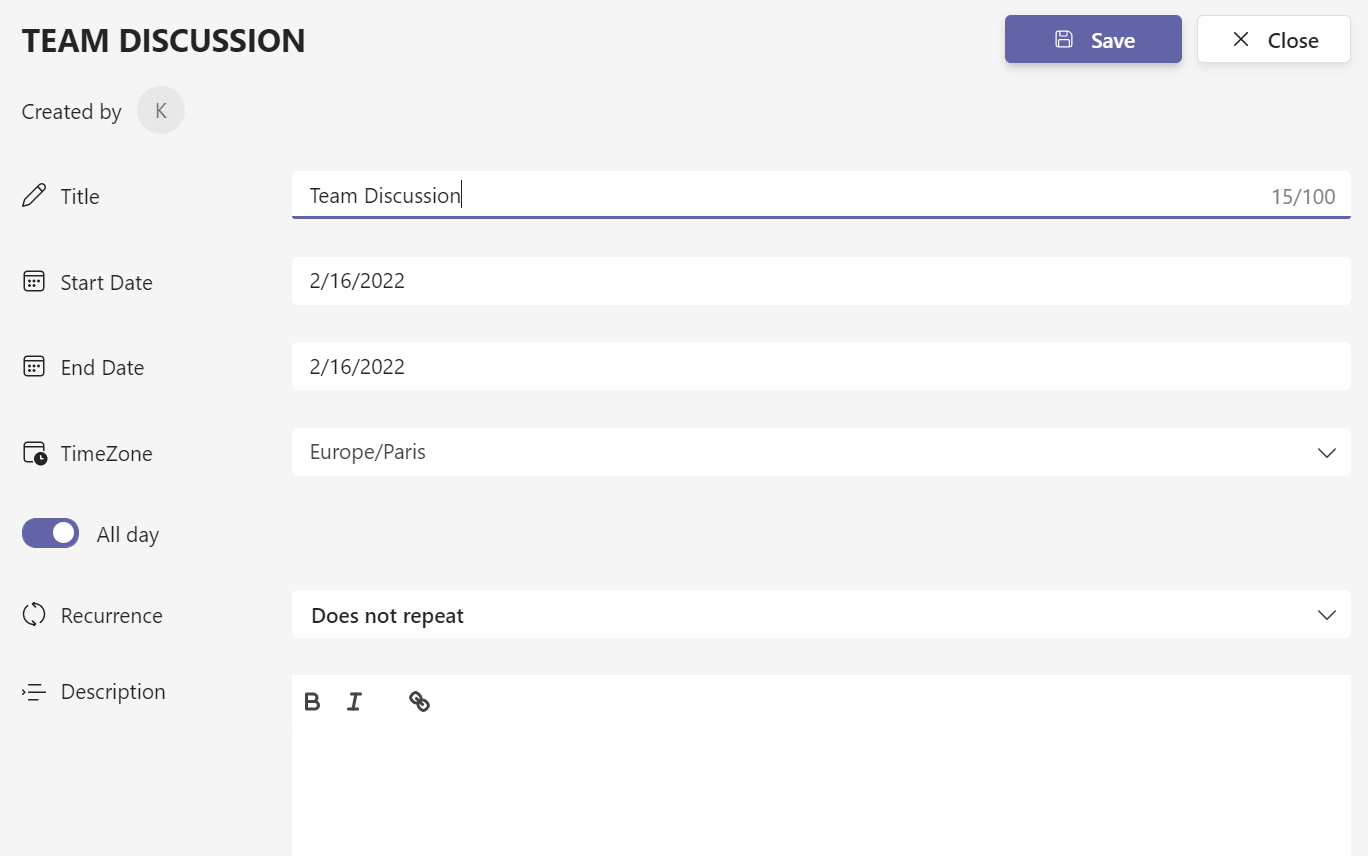
Enter a title, set the start and end time, and add any details.
- 3
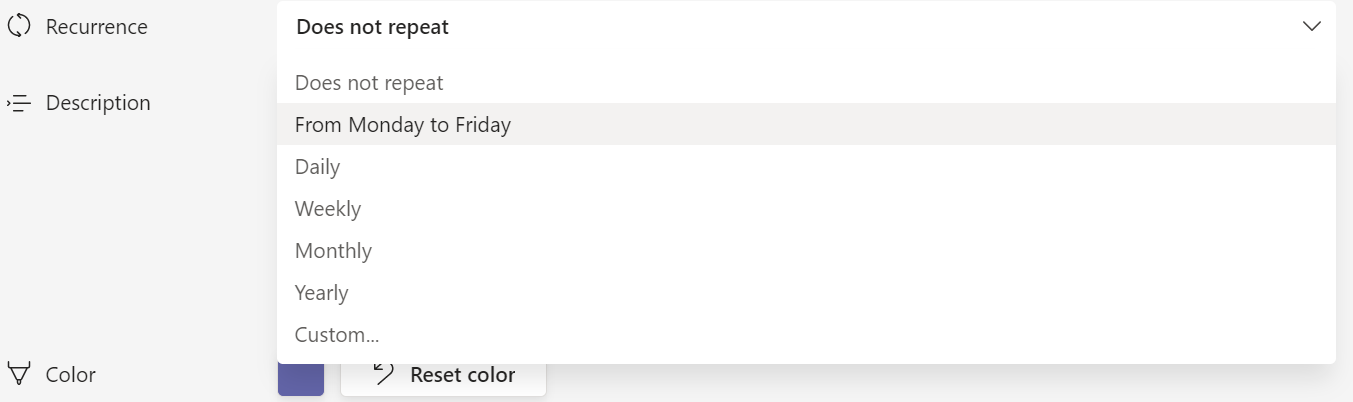
Open the Recurrence dropdown and choose how often the event repeats.
Options are Does not repeat, From Monday to Friday, Daily, Weekly, Monthly, Yearly, and Custom....
- 4
Click Save. The recurring event appears for everyone in the channel.
# Choose how often an event repeats
Open the Recurrence dropdown in the event form to pick a ready-made pattern:
- Does not repeat
- From Monday to Friday repeats every working day, Monday through Friday
- Daily
- Weekly
- Monthly
- Yearly
- Custom... opens the Custom recurrence dialog described below
# Set up a custom recurrence
If none of the ready-made options fit, choose Custom... to build your own pattern in the Custom recurrence dialog.
- 1
In the Recurrence dropdown, choose Custom... to open the Custom recurrence dialog.
- 2
Set the Start date for the first occurrence.
- 3
Under Repeat every, enter a number and choose a unit: day, week, month, or year.
- 4
Under Repeat on, refine the pattern for the unit you picked.
- For a weekly pattern, select the weekdays the event should fall on, such as Monday, Wednesday, and Friday.
- For a monthly pattern, pick a day of the month, or turn on On the and choose First, Second, Third, Fourth, or Last plus a weekday.
- 5
Under Ends, choose when the series stops.
- Never: the series has no end date.
- On: the series ends on a date you select.
- After: the series ends after a set number of Occurences.
- 6
Click Save to apply the pattern to your event.
If the combination cannot produce any matching dates, an information message appears so you can adjust the settings.
# Edit an occurrence or the whole series
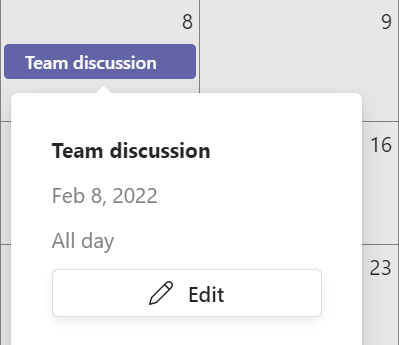
When you edit a recurring event, Calendar Pro asks whether to change only the date you clicked or every event in the series.
- 1
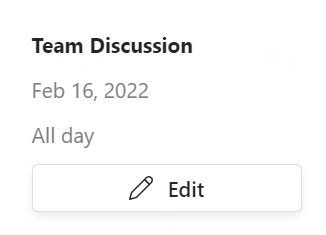
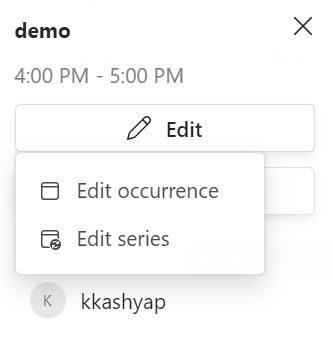
Click the occurrence you want to change to open its pop-up, then click Edit.
- 2
Choose Edit occurrence to change only that date, or Edit series to change every event in the series.
- 3
Make your changes, then click Save.
Saving the whole series removes any custom changes you made to individual occurrences.
# Delete an occurrence or the whole series
Deleting works the same way: you can remove a single date or the entire series.
- 1
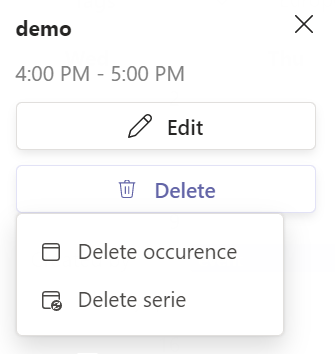
Click the occurrence you want to remove to open its pop-up, then click Delete.
- 2
Choose Delete occurrence to remove only that date, or Delete series to remove every event in the series.
- 3
Confirm by clicking Delete.

# Find the event or series ID
Every event and every recurring series has its own identifier, which is useful when you connect Calendar Pro to another app or automation.
- 1
Open the event, click Edit, then click the three dots at the top right.
- 2
Select Information to open the details dialog.
- 3
Read the Event ID, or the Serie ID for a recurring series, then click Copy to clipboard.

# Add a link to a recurring event
You can add a link to any event through the description box. Type or paste the link into the description, then click Save.

# Related pages
- Learn the basics of creating and managing events.
- Organize and filter your calendar with tags.
- New to the app? Start with the Calendar Pro Get Started guide.