
# Manage Plugin
# Overview
GPT Pro plugins are additional components that enhance the functionality of GPT applications by providing new features or integrating with external services. These plugins follow OpenAI's format guidelines, ensuring seamless integration and consistent performance.
# Accessing Plugin Management
To manage your plugins for GPT Pro, navigate to the admin panel available at admin.gpt-pro.com. Here you can enable or disable plugins, add new ones, or configure existing ones.
# Enabling and Disabling Plugins
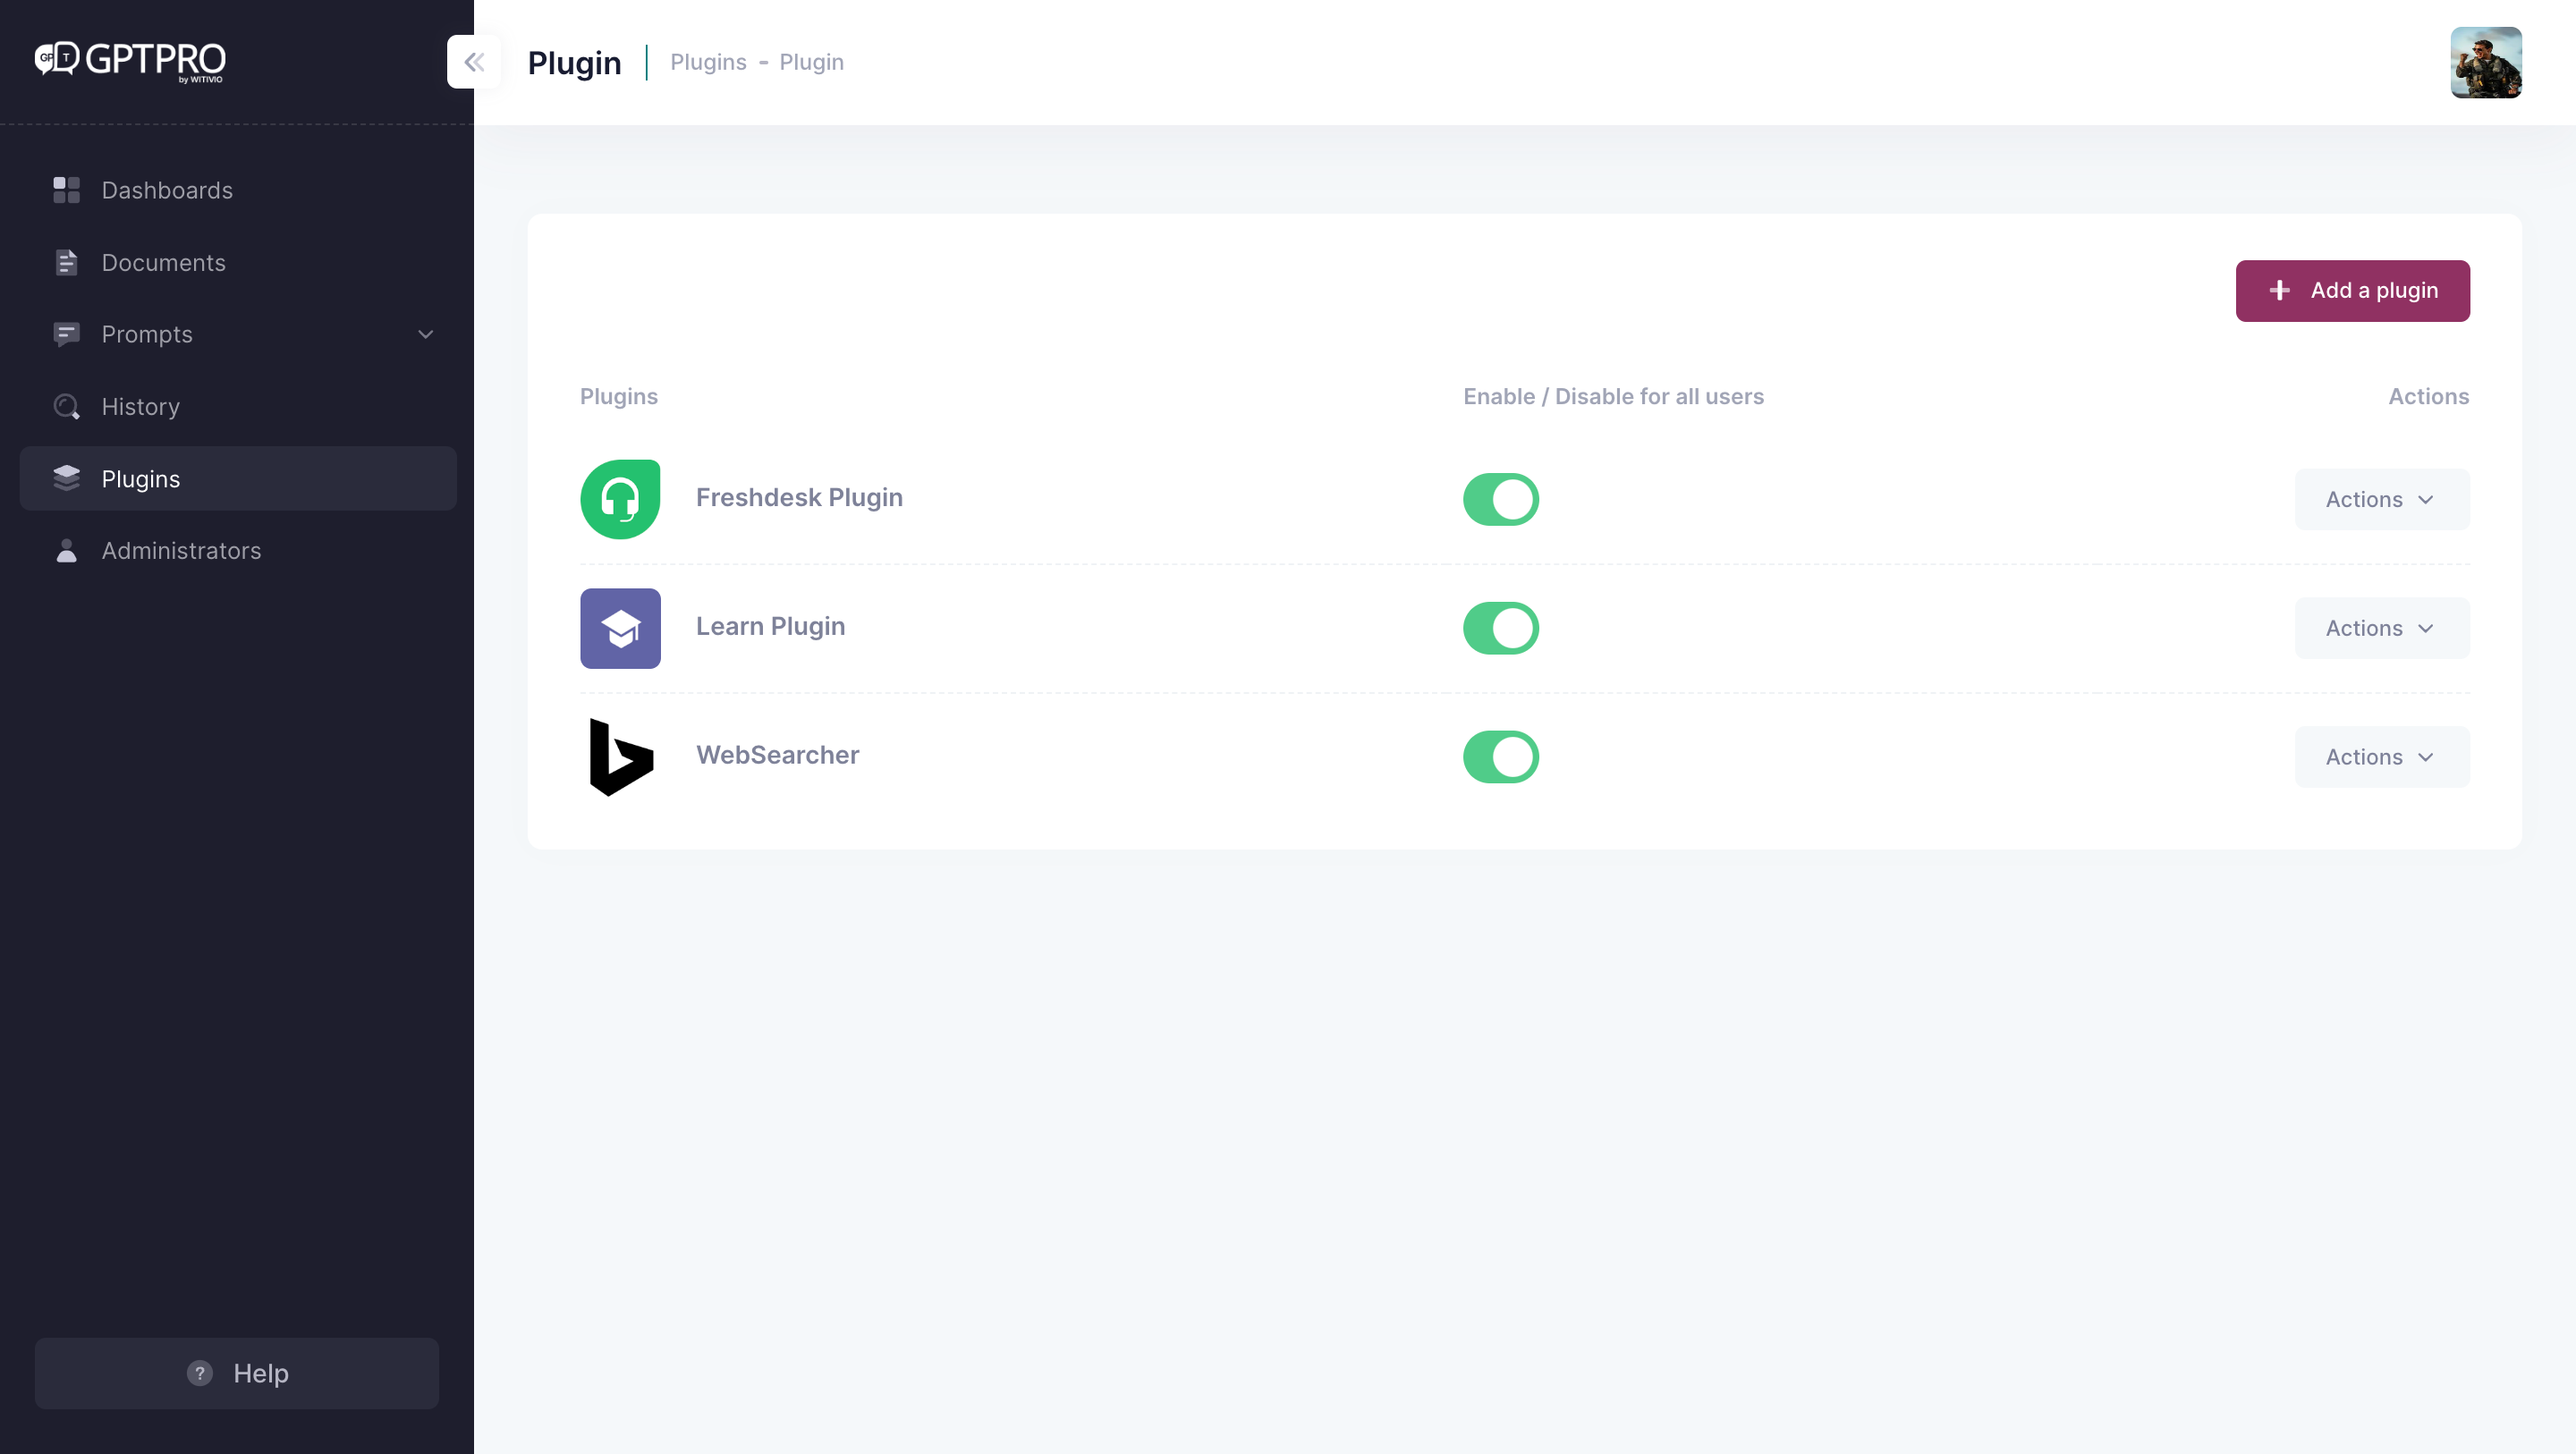
Upon accessing the plugin management interface, you will see a list of available plugins.
TIP
To activate or deactivate a plugin, simply toggle the switch next to the plugin's name. A green toggle indicates an enabled plugin, while a grey toggle shows a disabled one.
WARNING
⚠️ Be aware that enabling or disabling plugins will affect all users. Ensure you understand the implications before changing the status of a plugin.
# Adding a New Plugin
To extend the capabilities of your GPT application:
Click the + Add a plugin button in the upper right corner.
Follow the prompts to upload the plugin package or enter the details for the plugin repository.
Ensure that the plugin follows the OpenAI format for compatibility.
Once added, you can enable the plugin using the toggle mentioned earlier.
# Removing Plugins
If you decide that a plugin is no longer needed:
- Click on the
Actionsdropdown for the plugin you want to remove. - Choose
Removeand confirm the action. - The plugin will be uninstalled from your GPT application.
WARNING
⚠️ Removing a plugin may result in the loss of associated data or functionality. Proceed with caution and ensure that you have backups if necessary.
← Action bar GPT Maker →