
# Get started with the Admin Center
The Admin Center (admin.teams-pro.com) is where you manage the Teams Pro apps of your organization: who has access to each app, your plans and your billing. This page takes you from your first sign-in to giving your first colleague access to an app.
# Sign in
You sign in with your Microsoft 365 work account, the account you use for Microsoft Teams and Outlook at work.
- 1
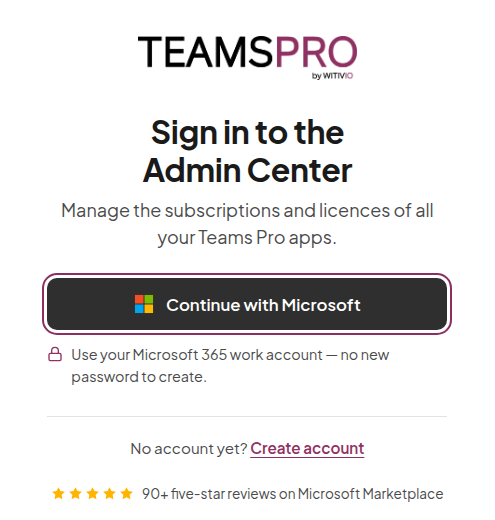
Go to admin.teams-pro.com. The page shows Sign in to the Admin Center.
- 2
Click Continue with Microsoft.
- 3
Sign in with your Microsoft 365 work account.
There is no new password to create: the Admin Center uses the work account your organization already gave you.
To change the language of the Admin Center, click the flag button at the bottom of the sign-in page, or in the header once you are signed in. You can choose English, French, German or Spanish. The Admin Center remembers your choice for your next visits.
# Create your account
If you have never used the Admin Center, create your account first. You only do this once.
- 1
On the sign-in page, next to No account yet?, click Create account.
- 2
Tick I agree to the Teams Pro Terms of Use.
The Continue with Microsoft button stays unavailable until the box is ticked. Click the name of the terms to read them first.
- 3
Click Continue with Microsoft and sign in with your Microsoft 365 work account.
Your account is created when you come back to the Admin Center.
If you clicked Sign in without having an account, the Admin Center shows Create your Admin Center account instead of your apps. Tick I agree to the Teams Pro Terms of Use, then click Create my account.
# Usage analytics
On your first visit, a banner titled Help us improve the portal asks whether Microsoft Clarity may record how you use the Admin Center (clicks, scrolling, pages viewed). Names, e-mails and billing details are masked.
- Click Accept to allow it, or Decline to refuse. Nothing is recorded before you click Accept.
- The banner does not block the page: you can keep working and answer later.
- To change your answer at any time, click Cookies at the bottom of the page.
# Take the guided tour
The first time you open the Admin Center, a short tour starts with Welcome to the Admin Center. It shows you where to give colleagues access, your Teams Pro Suite, what needs your attention, your apps, the People and Billing pages, and where to find help.
- Click Start the tour, then Next to move from one step to the next, and Got it at the end.
- Click Skip to leave the tour at any time.
- To see it again, click your picture at the top right of the page, then Guided tour.
# Give colleagues access
Each app you have comes with a number of seats. A seat (sometimes called a license) lets one person use the app, and the Admin Center calls it an "access". Each colleague you add uses one seat of the app.
- 1
Open My apps and click Give colleagues access.
You can also click Give access on the line of an app. The Admin Center then skips the next step.
- 2
Under Which app do you want to share?, click the app.
Each app shows how many accesses are left.
- 3
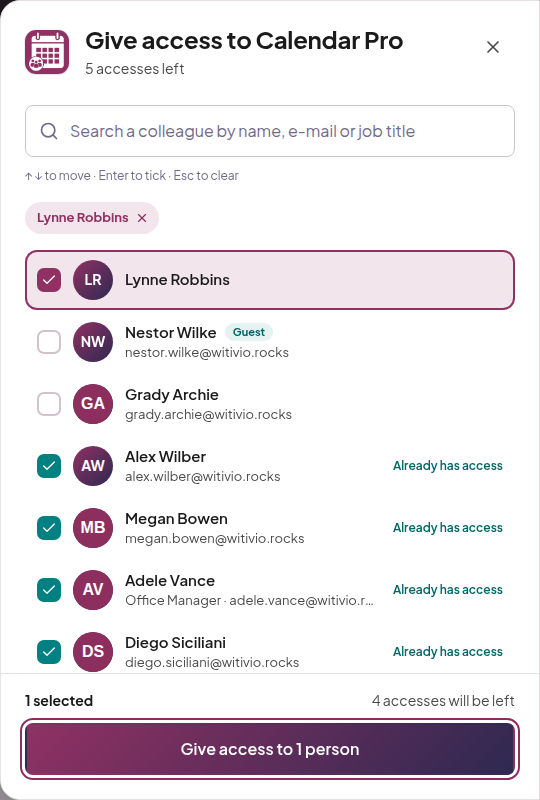
In the search box, type a colleague by name, e-mail or job title, then tick each person who should use the app.
- 4
Click Give access to 1 person, or Give access to followed by the number of people you ticked.
The Admin Center shows Done!. Your colleagues can open the app in Microsoft Teams right away.
Tell your colleagues where to find the app. The Admin Center reminds you: "They'll find it in Teams, under Apps, by searching" the name of the app.
# If there are not enough seats
When every seat of an app is taken, My apps shows No access left for the app, with a message that all accesses are in use and an Add access button. In the Give access window, a message also tells you how many accesses are missing. Only the account owner, the person who manages the billing of your organization's Teams Pro account (previously called Super Admin), can add seats. See how to add or reduce seats.
# Remove access
When you remove someone, they no longer have access to the app and their seat becomes free for someone else.
- 1
Open My apps and, on the line of the app, click See who has access.
- 2
Next to the person, click the trash icon (Remove access).
- 3
If you removed the wrong person, click Undo in the message that appears.
# Try an app for free
Your Teams Pro Suite, at the top of My apps, shows the apps and AI agents your organization has. The empty spots are the ones you do not have yet.
- 1
Open My apps. In Your Teams Pro Suite, click an empty spot marked Try.
- 2
Choose how often you want to be billed, the number of users and a plan, then click Continue to payment.
When the app has a free trial, the heading reads Try it free for followed by the number of days, and nothing is charged before the trial ends.
- 3
Under How does your company pay for software?, choose By card or Google Pay or On your Microsoft invoice.
- By card or Google Pay: click the button that starts the trial. A card is asked for later, nothing is charged today.
- On your Microsoft invoice: the purchase is made by a Microsoft billing administrator of your organization and is completed on Microsoft Marketplace.
To see the prices before you start, visit the Teams Pro pricing page.