
# Channels
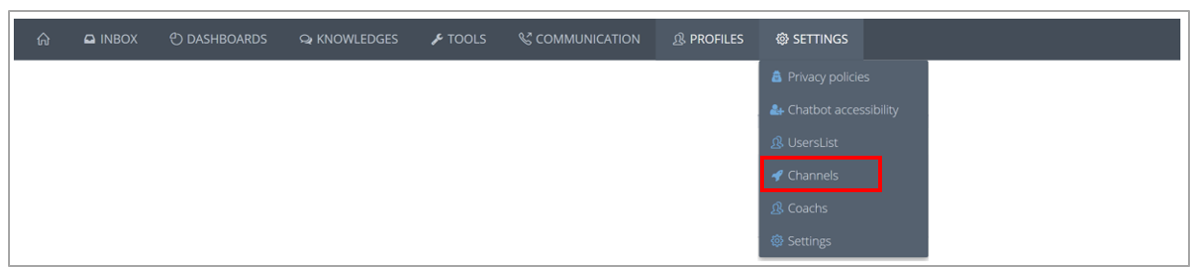
This tab allows you to configure the channels on which the chatbot is available:
- you can modify the channels already available or add a new channel later.
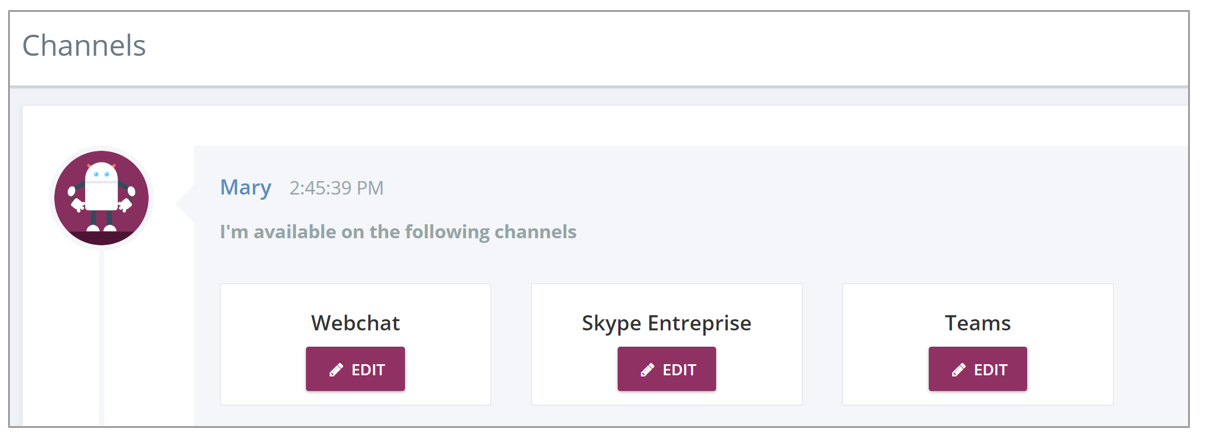
# Skype for Business
Click on “edit” to access the setting of the channel Skype for Business.
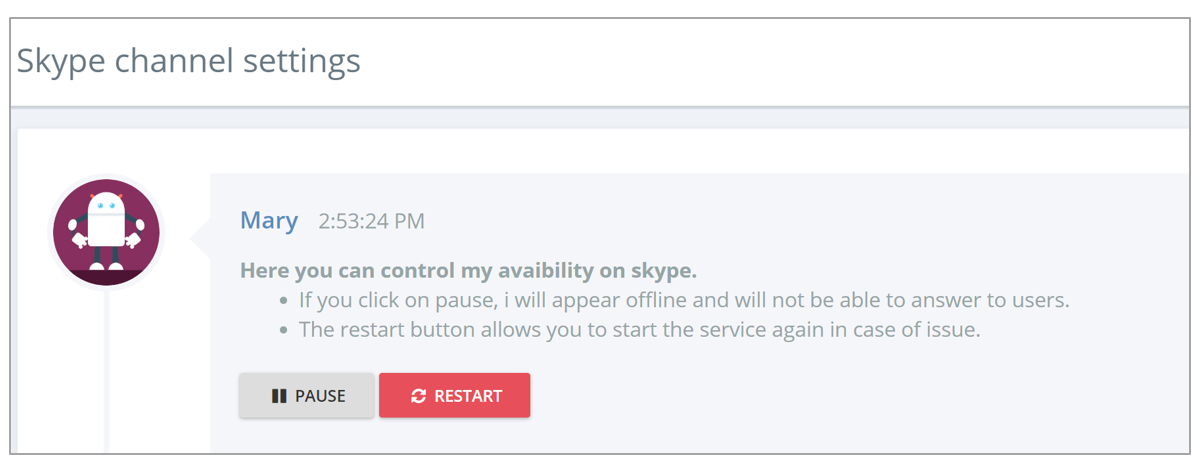
Here you can click on pause ⏸️ if you want that the chatbot appear “offline” on
skype; or click on 🔄 restart to start the connector in case of issue.
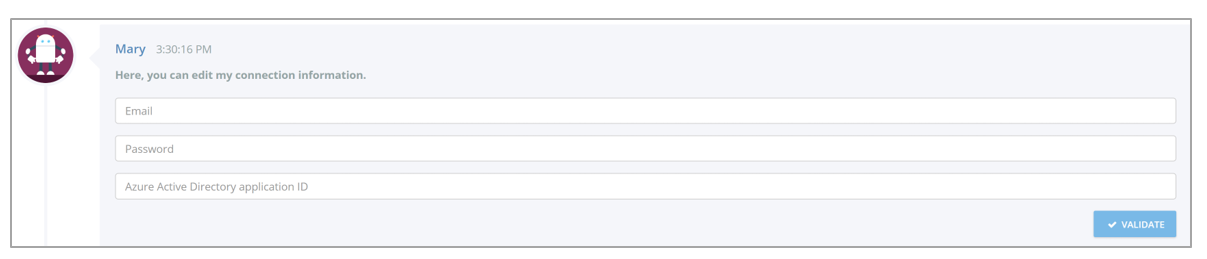
The following boxes contain the connection information: E-mail, password, Azure ID.
You can also indicate the description of the chatbot which will appear on Skype. For example: HR assistant. In case you decide to modify it, the change will automatically appear on Skype above the chatbot name.

It also possible to consult the event logs of the connector.

# Microsoft Teams
Click here to know how to activate a chatbot on Microsoft Teams.
# Automatic installation
# Authorization
WARNING
It is required to be authorized by an administrator of the chatbot to automatically publish the application 'Chatbots' and the Teams applications of each chatbot. Without this explicit authorization, the installation of the Teams application cannot be automated.
Here are the rights to authorize the installation of the Teams application:
| Name | Witivio - BotCatalog |
|---|---|
| ID | b4633c92-1b8e-4dbf-86cb-51ec202317c9 |
| Permissions | Delegated permissions |
| Scopes | AppCatalog.Read.All, AppCatalog.Submit, TeamsAppInstallation.ReadWriteForUser, offline_access, openid, |
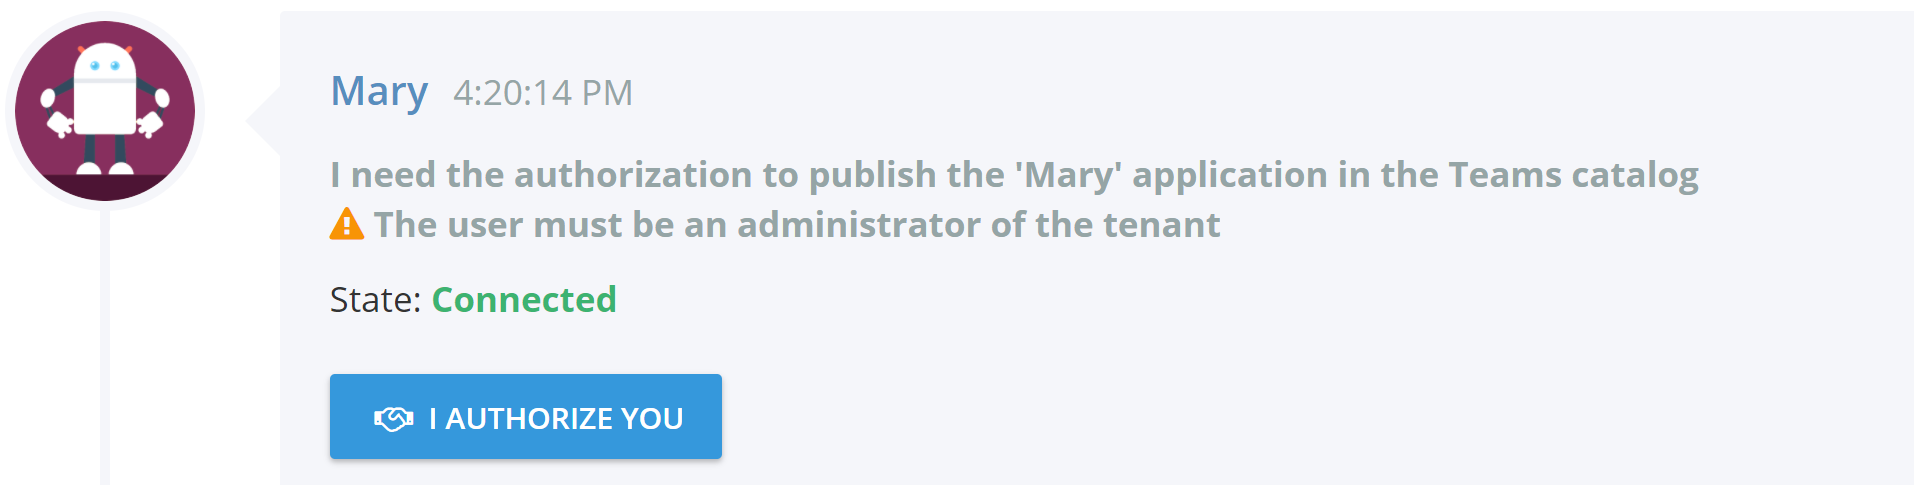
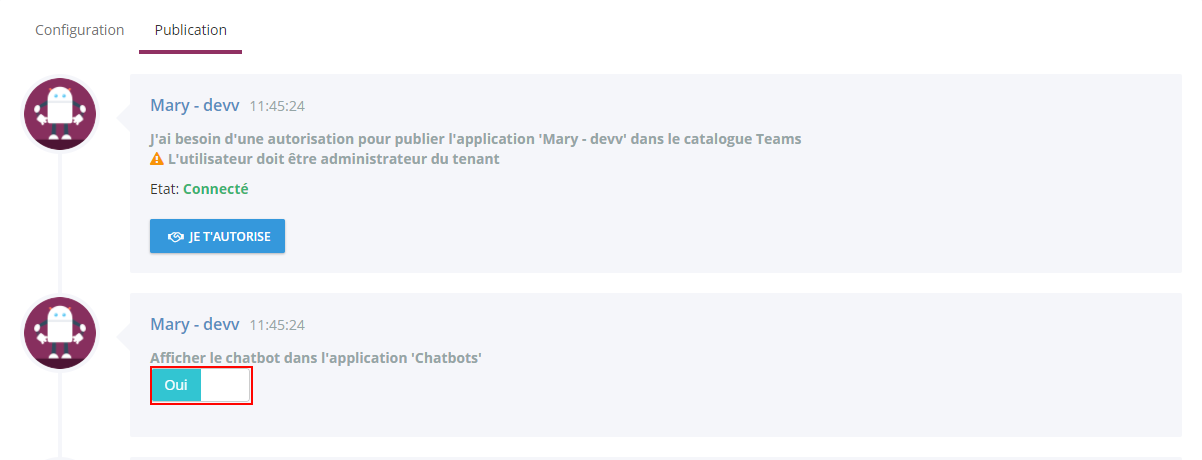
In order to publish the application 'Chatbots' in the Teams catalog, Witivio needs the authorization of a Tenant Administrator. Click on the "I authorize you " button to start the authentication process.

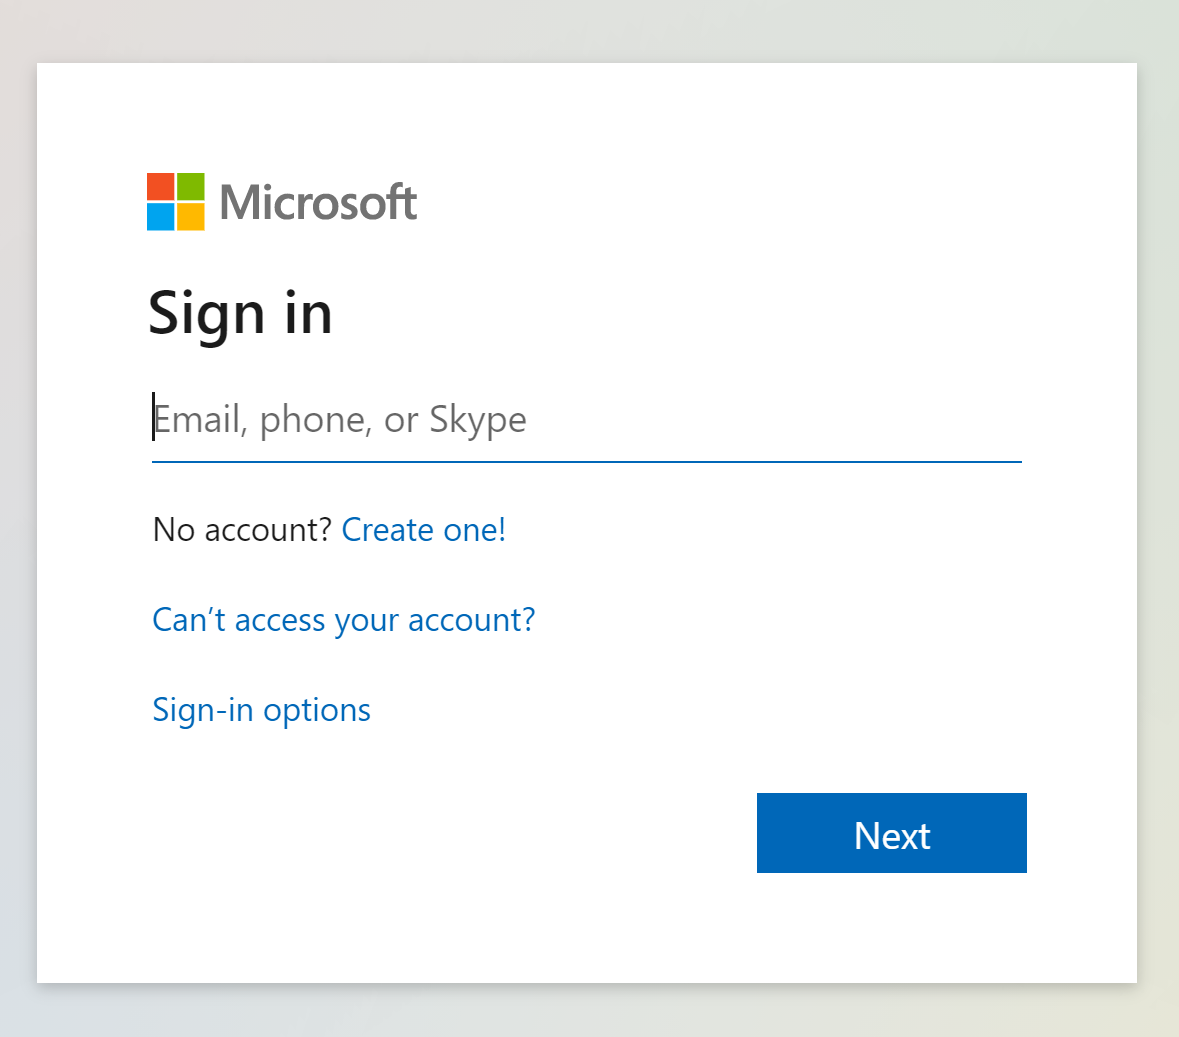
A Microsoft authentication pop-up is displayed. Login with the credentials of a tenant administrator.
Once the authorization is successfully completed, the status above the "I authorize you " button should change to connected as shown in the following image.
# Publication
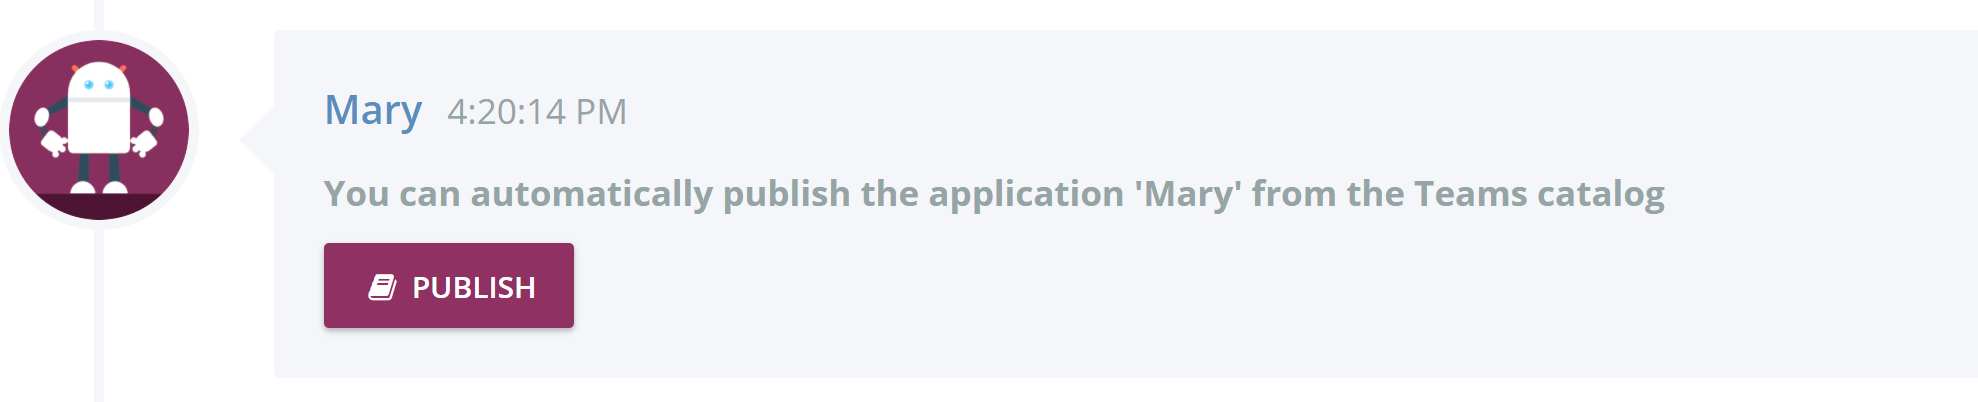
Once connected, you can publish the application automatically from the platform by clicking on the Publish button.
Once published, the Remove button that appears allows you to remove the application from the Teams catalog.

# Manual installation
If you do not have a Tenant administrator account, you can publish the 'Chatbots' application manually in Teams.
# Download
From the 'Catalog Teams' page, download the application package by clicking on the download button as shown in the image below.

# Publication
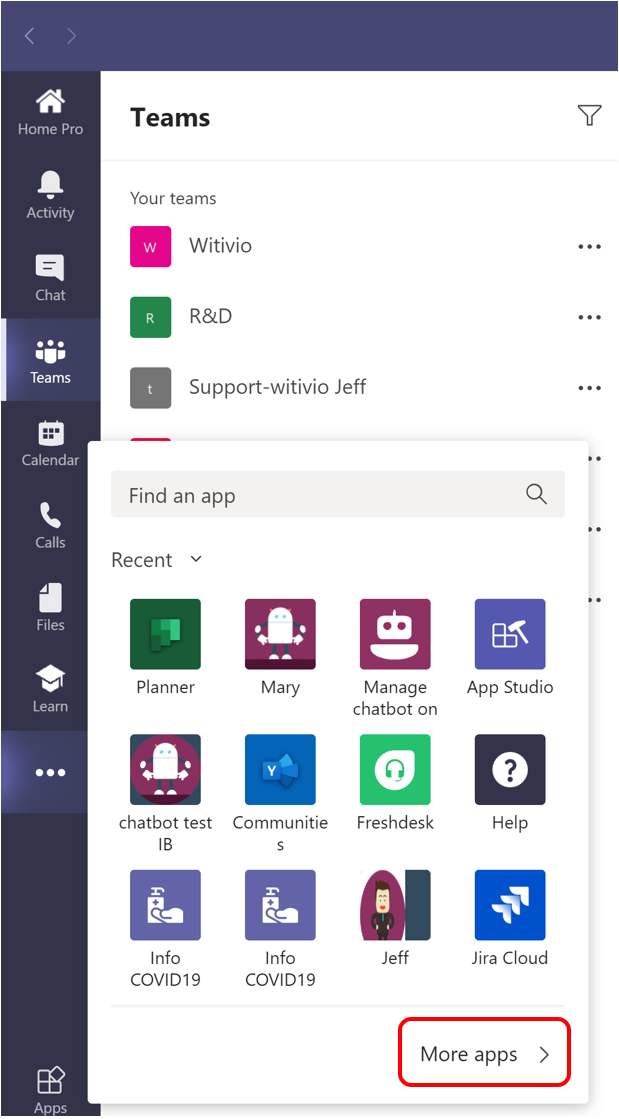
Go to Teams, then click on °°° in the left navigation bar, as shown in the image below.

A pop-up box appears, then click on More Apps.
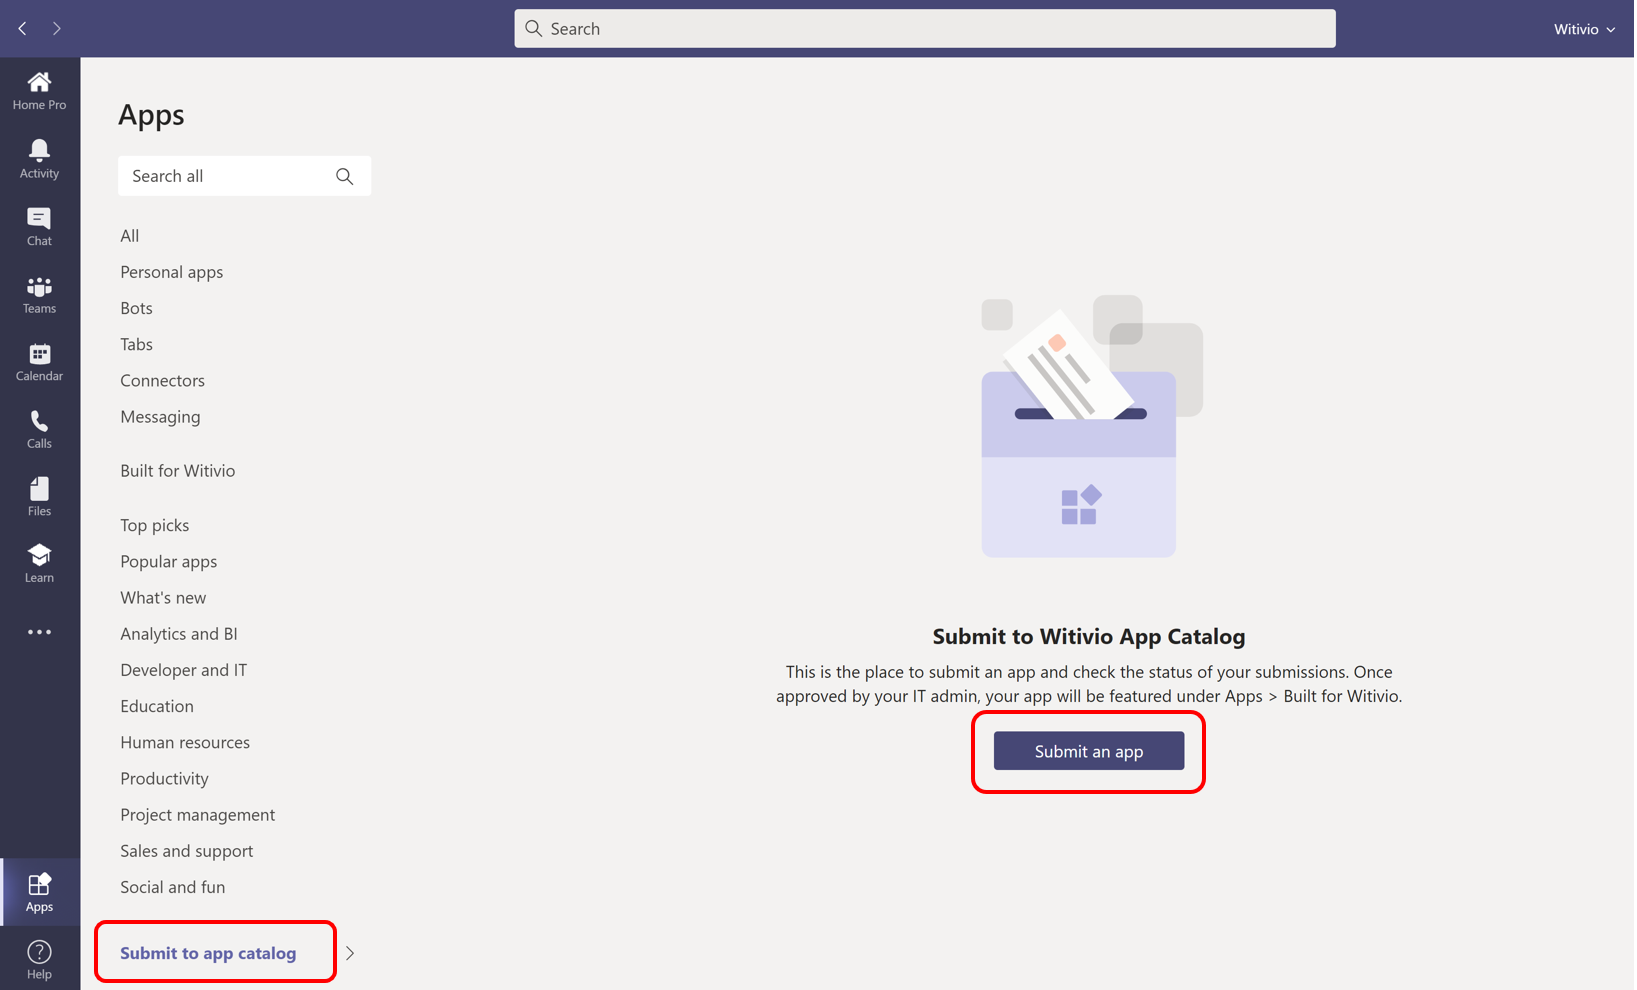
You are now in Teams Catalog. Click on Submit to app catalog as shown in the screen below. Then click on Submit an app.
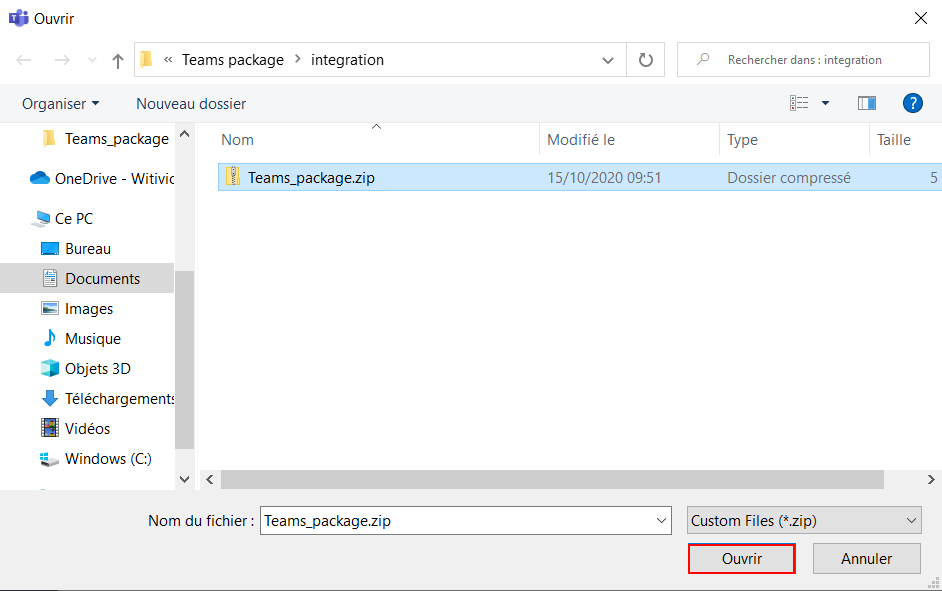
A pop-up opens, select the package you downloaded previously and click on Open.
The application will appear with a pending status. Ask an administrator procedure:
- To accept that the application Chatbots can be published in the Teams catalog.
- To give you the id of the application in the catalog.
Once the administrator has accepted your application, the status of the application 'Chatbots' will change to Approved.
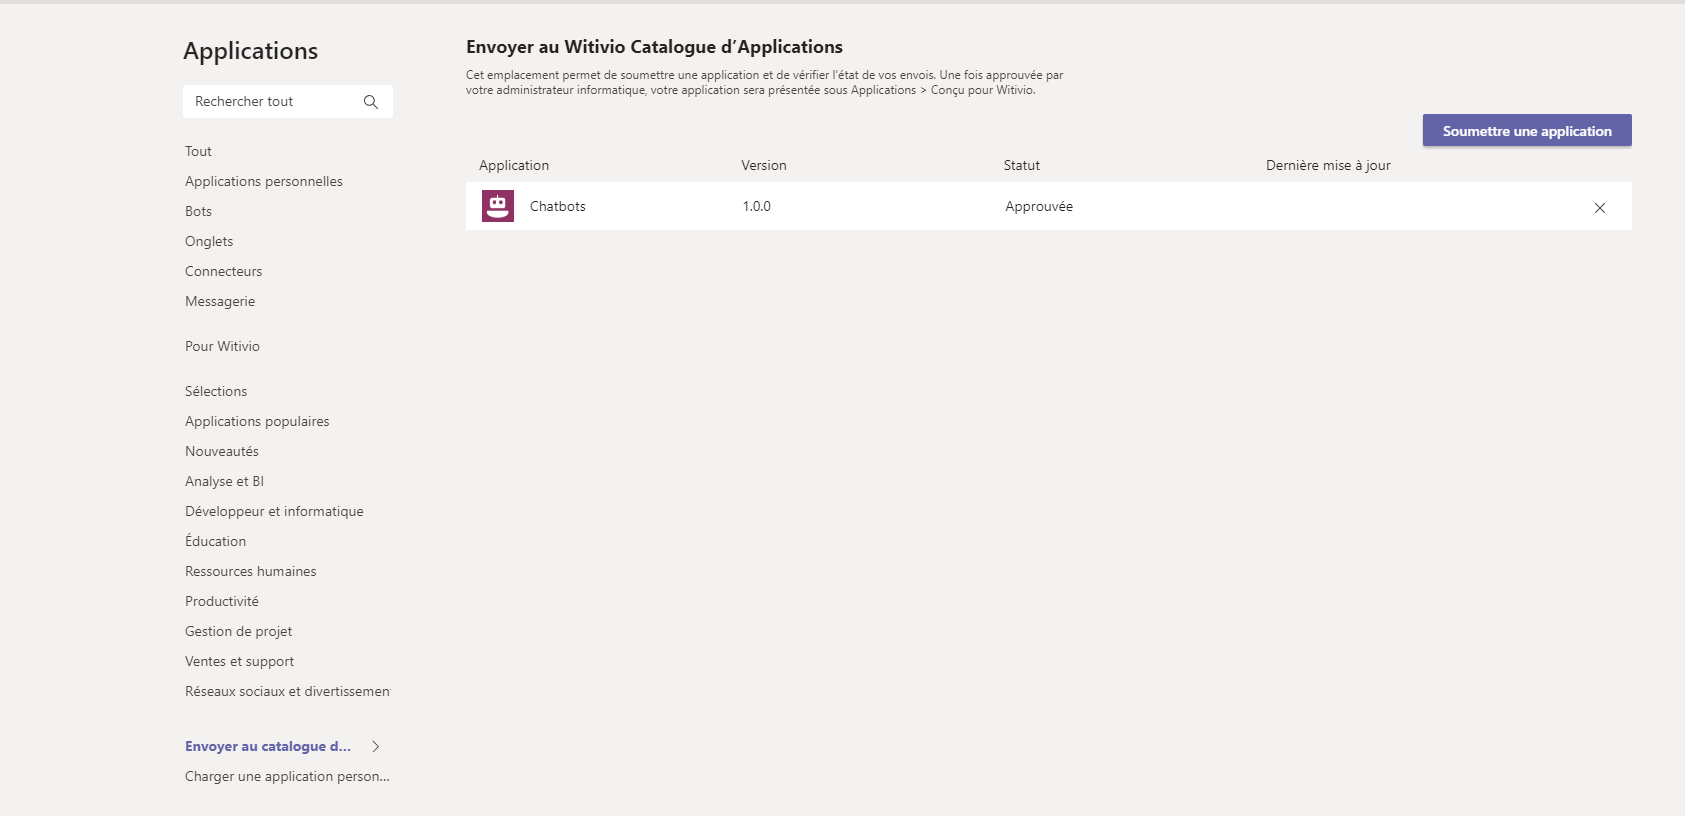
Then you will find the application in your Teams Catalog.

To complete the publication go back to the Platform Catalog page. Enter the application id provided by the administrator when approving the application 'Chatbots'. Then click on Save app id.

🔴
Without the previous step, the application will not work.
# Administration
As an admin go to the Microsoft Teams admin center from Office 365 portal. Access the Manage apps tab.
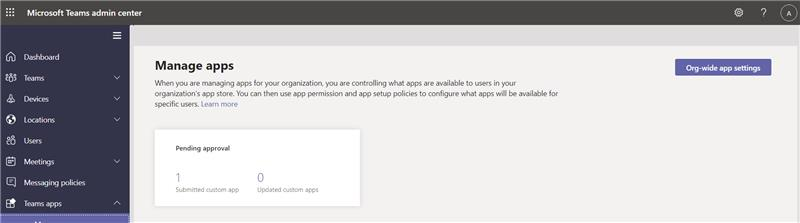
Using the search bar, look for the application 'Chatbots' in the list and click it. You access an information page of the application 'Chatbots'. First, send the App ID to the person who published the app. This user will need it to add it to the Witivio platform.

Then change the publication status from Submitted to Published.

Then click on publish.
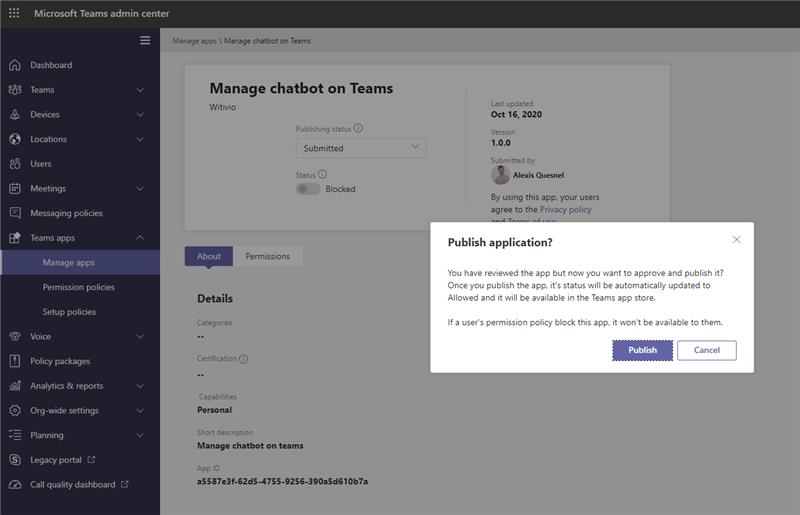
You can also choose whether or not to display your chatbot in the 'Chatbots' application.
Here are the steps to follow to publish the Chatbots application on Teams.
# Webchat
The webchat channel is automatically activated.
🔴
The Webchat window is your chatbot in integration and allows you to test the chatbot before publishing it.
If you modify the profile in the knowledge base, the chatbot takes into account the choice of the new profile in the test.
# Configuration of the Webchat V2 component
<script>
        window.webChatSettings = {
            botId: '[BOTID]',
            color: '[COLOR]',
            background: 'square3d',
            avatar: '[URL]',
            title: '[TITLE]',
            description:"[DESCRIPTION]",
            height: '650px',
            callout: true,
            welcome: true,
            width:'400px',
            apiKey: '[API KEY]',
            displayMode:'close',
            branding: false,
            autoscroll: false,
            autocomplete:false,
            hideSendBox:false,
            refresh: false,
        };
        !function () { function t() { var t = e.createElement("script"); t.type = "text/javascript", t.async = !0, t.src = "https://webchat.witivio.com/v2/init.js", t.onload = function () { witivioWebChat.load(window.webChatSettings) }; var n = e.getElementsByTagName("script")[0]; n.parentNode.insertBefore(t, n) } var e = document, n = window; n.attachEvent ? n.attachEvent("onload", t) : n.addEventListener("load", t, !1) }();
</script>
| botId | The unique ID of your chatbot. The ID is available in the settings menu. |
| color | Primary color in hexa. |
| avatar | URL of your chatbot's image. |
| title | The title of the chat window. Usually the name of the chatbot. |
| description | Description of the chat window. Usually the role of the chatbot. |
| callout | Activate the welcome message. (by default: true) |
| welcome | Enable the display of the welcome message in the chat window. (by default: true) |
| user | Not mandatory. If you are on SharePoint Online, you can use :
If no configuration is specified, the component generates a unique identifier that is stored in the browser.
|
| refresh | Displays a button that refreshes the component (by default: false) |
| hideSendBox | Hide the message entry field and the send button (by default: false) |
| apiKey | Find the api key in the settings of the chatbot |
| displayMode | Determines whether the webchat should be displayed 'open' or 'close' when it is loaded (by default is 'close') |
| environnement | Environment of the Knowledge Base ('production', or 'integration') (by default: 'production') |
| triggerableDialogId | ID of the Triggerable ID to start (optional) |
| triggerableDialogItemId | ID of the Triggerable Item ID to start (optional) |
| background | Background image (by default: square3d) Possible values: (square3d, communication, square, travel) |
| autocomplete | Allows you to display the list of questions in autocompletion mode (by default: false) |
| autoscroll | Allows you to force the auto scroll when a user gets back into the conversation and decides to send a message back into the chat. |
| buttonDesign.shape | Allows you to choose the button's shape, possible values: square, circle, chat (default: circle)) |
| buttonDesign.icon | Allows to choose the button icon, possible values: 'bot' will take the avatar of your chatbot, can also take the class of a Font Awesome (for example 'fa fa-quote-right' or 'fas fa-comment') or put a URL to an image (default: fa-comment-dots) |
| buttonDesign.height | Button length, suggested unit: 'px' (by default: '80px') |
| buttonDesign.width | Button width, recommended unit: 'px' (by default: '80px') |
| buttonDesign.border | 6 hexadecimal characters for the border or 'none' for no border (beware the 'chat' shape of the button is considered as a border) (by default: 'ffffff') |
| buttonDesign.text | The text to be displayed next to the chosen icon. Over 25 characters, the text will be cut off. |
| headerHeight | allows to set the header size. Possible values: small, normal (by default: 'normal' if not specified) |
| position | webchat position on the page, 'top', 'middle' or 'bottom' then 'left' or 'right' and optionally followed by a margin of maximum 150px (default: 'bottom right 10px 10px') |
# Configuration of the Webchat V1 component compatible with IE11 (obsolete)
# Security of the chatbot
The Webchat allows you to manage the security of the chatbot in a better way. It allows you to know where the webchat is deployed. For governance purposes, it is mandatory to explicitly indicate where the webchat is located, and therefore declare the different sites on which it will be available.
⚠️
Without this explicit definition, the webchat will not upload to your site. This prevents a person from adding webchat without permission.

🔴
The Webchat also appears in the Webchat channel settings tab, so you can test and talk directly to the chatbot in production.
# SharePoint Modern Webpart
You can download the webpart here (opens new window)
In order to add the webpart into your SharePoint Modern, you need to add the sppkg package to the app catalog.
If you do not have an app catalog, a SharePoint Online Admin can create one by following the instructions in this guide: Use the App Catalog to make custom business apps available for your SharePoint Online environment (opens new window).
# Deploy the package to app catalog
- Go to your site's app catalog.
- Upload or drag and drop the witivio-webchat.sppkg to the app catalog.
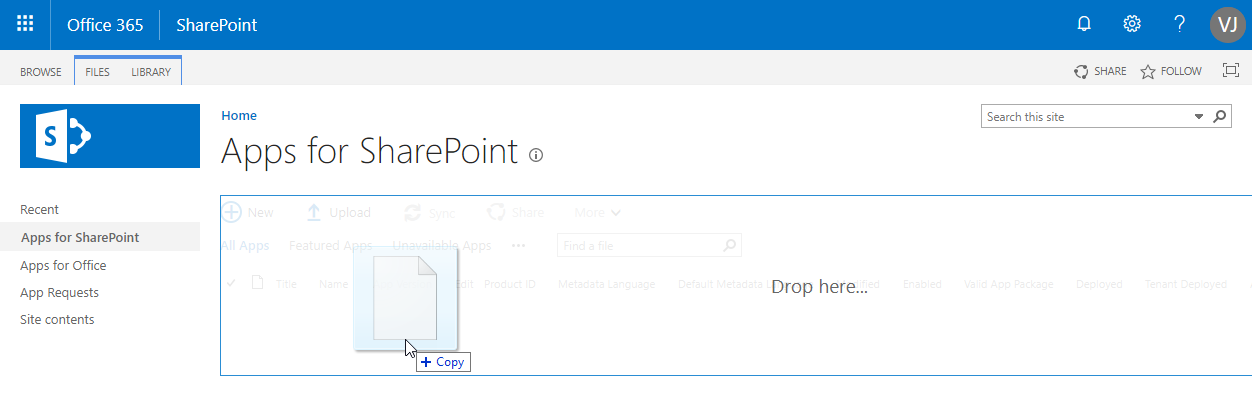
This deploys the client-side solution package. Because this is a full trust client-side solution, SharePoint displays a dialog and asks you to trust the client-side solution to deploy.
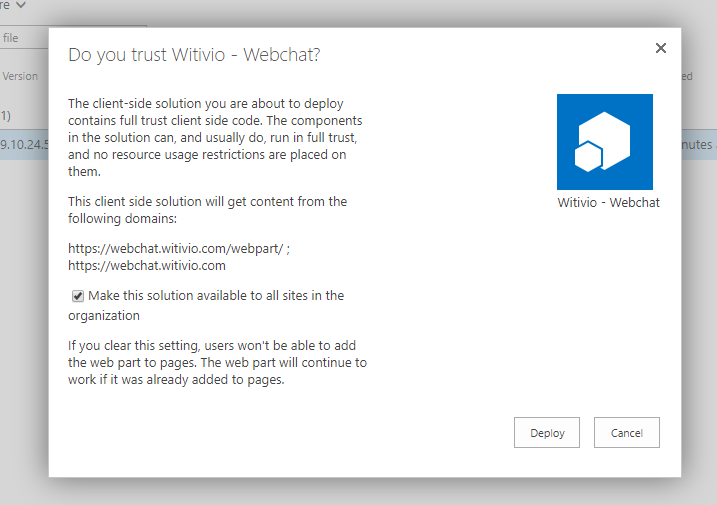
- Select Deploy.
# Configure the webchat for SharePoint Modern
The webchat is now available from your pages in your SharePoint site.
- Edit a page on your SharePoint Site
- Click on Add a new WebPart
- If you scroll down you will find "Witivio-webchat" webpart
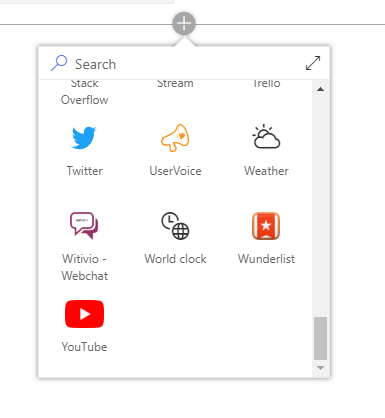
- Select it. the component appear, but the webchat is not configured yet.

⚠️
It will not appear until you configure it.
- Select the pencil to edit the parameters.
Please refere to the article above to understand the configuration
💡
When adding the webpart to SharePoint the user context is send to the webchat. That means that the upn and the name of the user is send to the bot. Do not forget to review your privacy policies if you want your users to be anonymous.
⚠️
The sharepoint webpart of the webchat has to be added at the top of the page. Otherwise it will only be displayed when scrolling.
# Lumapps
# Beezy
# Powell 365
# SMS
Chat with your chatbot by using text message from your mobile phone.
Click here (opens new window) for more information about the Twiliio configuration.