# Teams prerequisites
# Prerequisites
Before performing this step, your chatbot must be created on the Witivio platform (and therefore appear in the chatbots list). The chatbot does not necessarily have to be configured. You can perform this step at the time of the chatbot’s creation or when adding a channel.
# Creation of an Azure Bot Channel
⚠️
Before starting, you must have access to an Azure subscription.
Login to the portal https://portal.azure.com (opens new window)
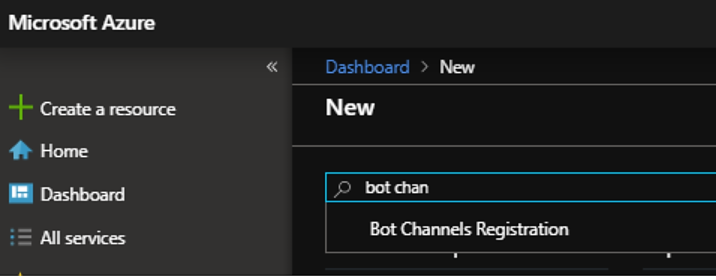
- Click on Create a resource

- In the search bar, enter bot channel registration
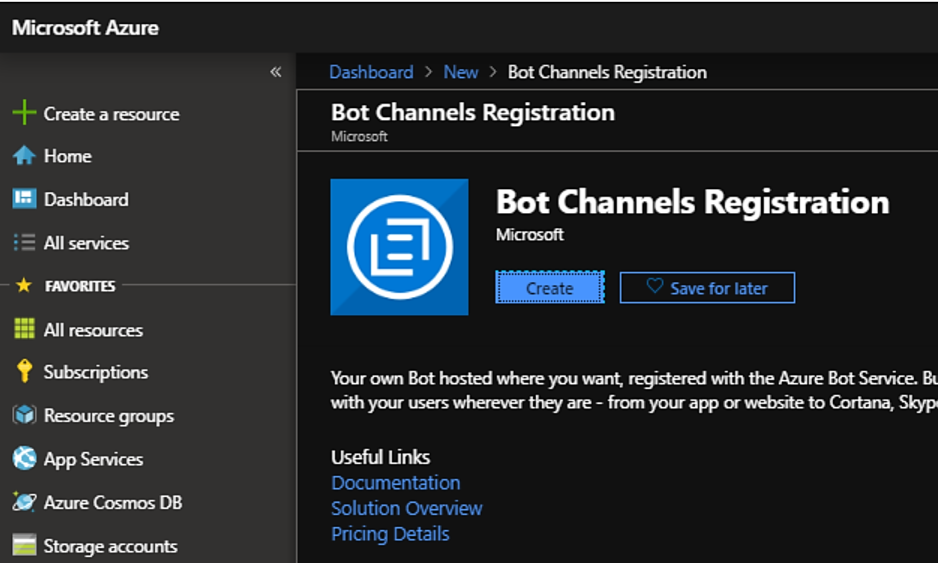
- Click on Create
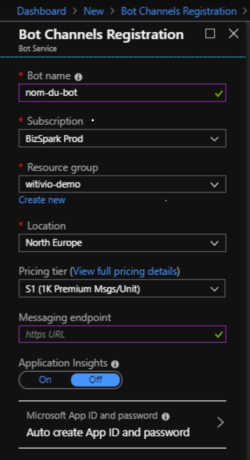
| Chatbot Name | The name of the chatbot you want. Good practice: put the same as in the Witivio interface |
|---|---|
| Subscription | Your Azure Subscription |
| Resources Group | The Azure resources group you want |
| Location | The location of the service you are going to create. North Europe = Dublin |
| Pricing Tier | S1 |
| Message URL | The URL displayed in the Witivio interface |
| Application Insight | Disabled |
- Click on create
- After the deployement, Click on Settings and in the link Manage
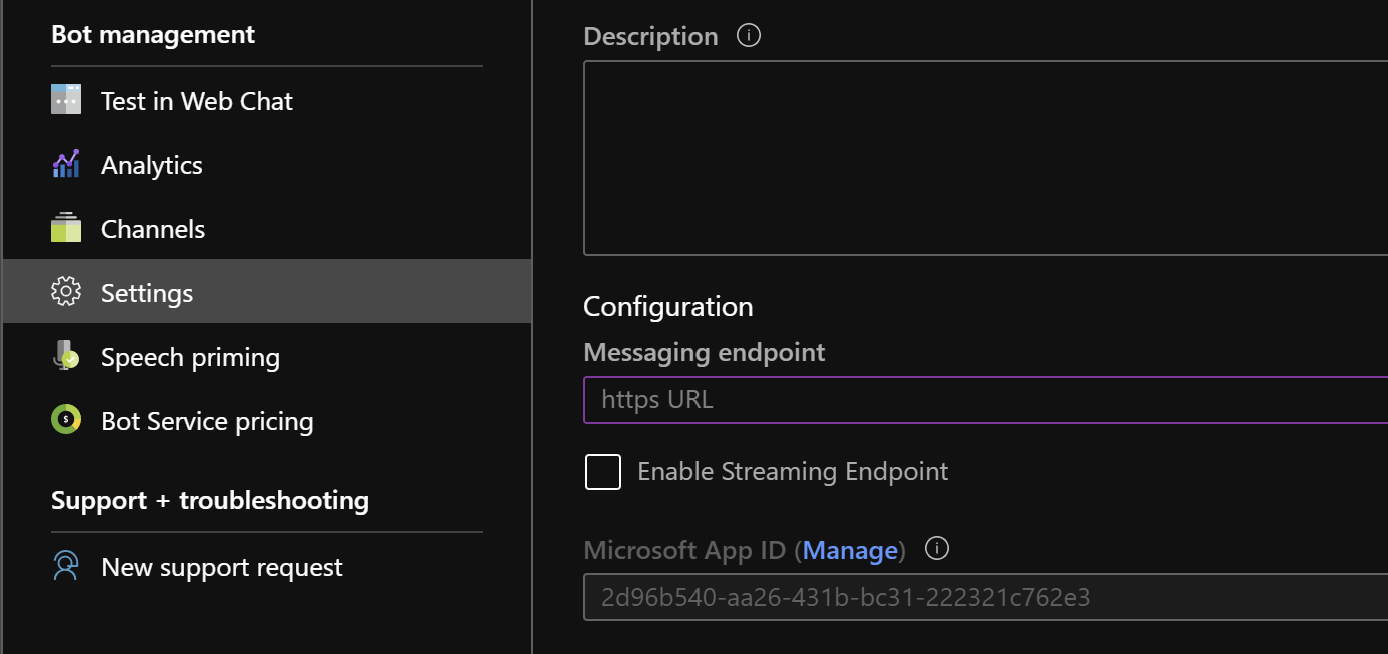
- Click on New Clients secret the select Never
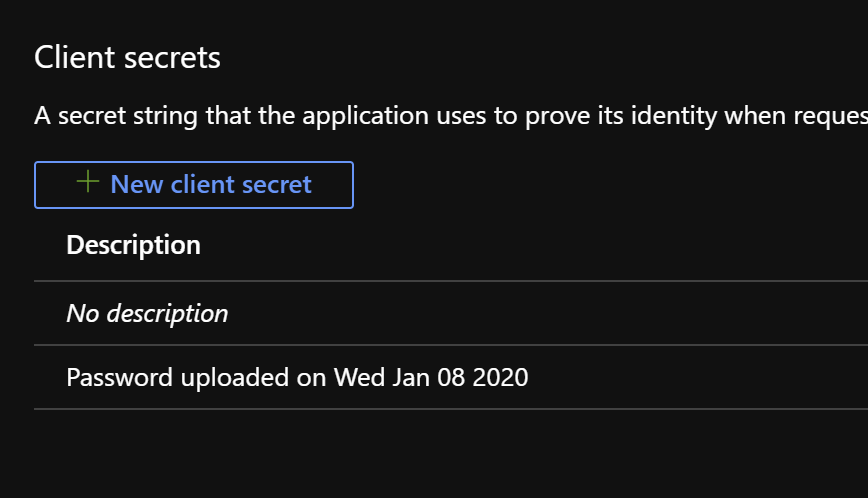
- Copy and keep the value
Once created, Teams must now be activated on this new channel.
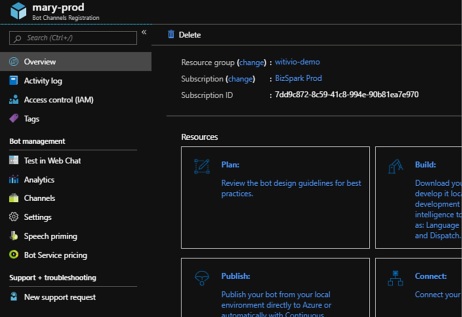
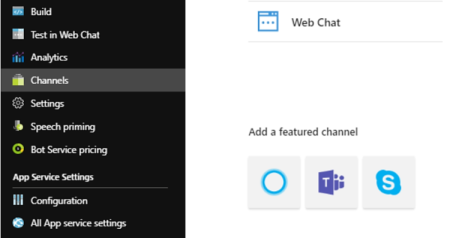
Click on channels then click on the Teams icon.
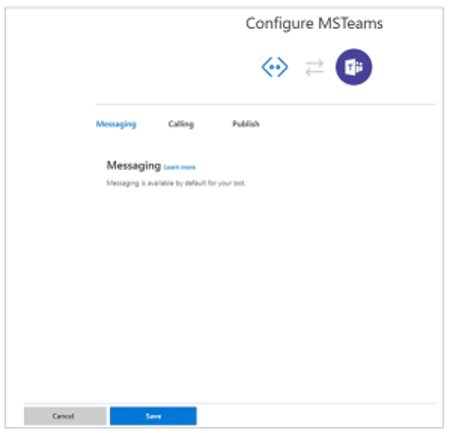
Click on save.
Accept Microsoft's terms of use.
# Configure the channel on the Witivio 365 application
Your channel is created on Azure. Therefore, you have all the information to activate it in the interface. To this, copy the Microsoft App ID and Microsoft Password into the corresponding fields.
Your channel is configured and your chatbot will be active on Teams in a few minutes.
# Add an image to the bot
When created, your chatbot Teams does not have a picture.
To add a photo, access the bot channel on Azure. Click on Settings then Add a picture.
💾
Don't forget to register !
